Tuesday, 9 March 2021

Floral Decoupage'd Tray

Hello Everyone
Arpita here, how is everyone doing today? i am back with another decoupage tutorial. Hope you love this Black Beauty as much as I loved making it. 

Detailed pictorial tutorial of the Decoupage’d Tray

The wooden tray is from Craftangles from their wide range of wooden bases. Painted the inside with the white Snow Chalky Paint.

Next I stencil with a doily. I tape it down with a piece of masking tape so it doesn’t move.

Using a sponge dauber I paint over it with the midnight dream chalky paint. While doing this make sure you do not have excess paint on your sponge to get a crisp stencil image.
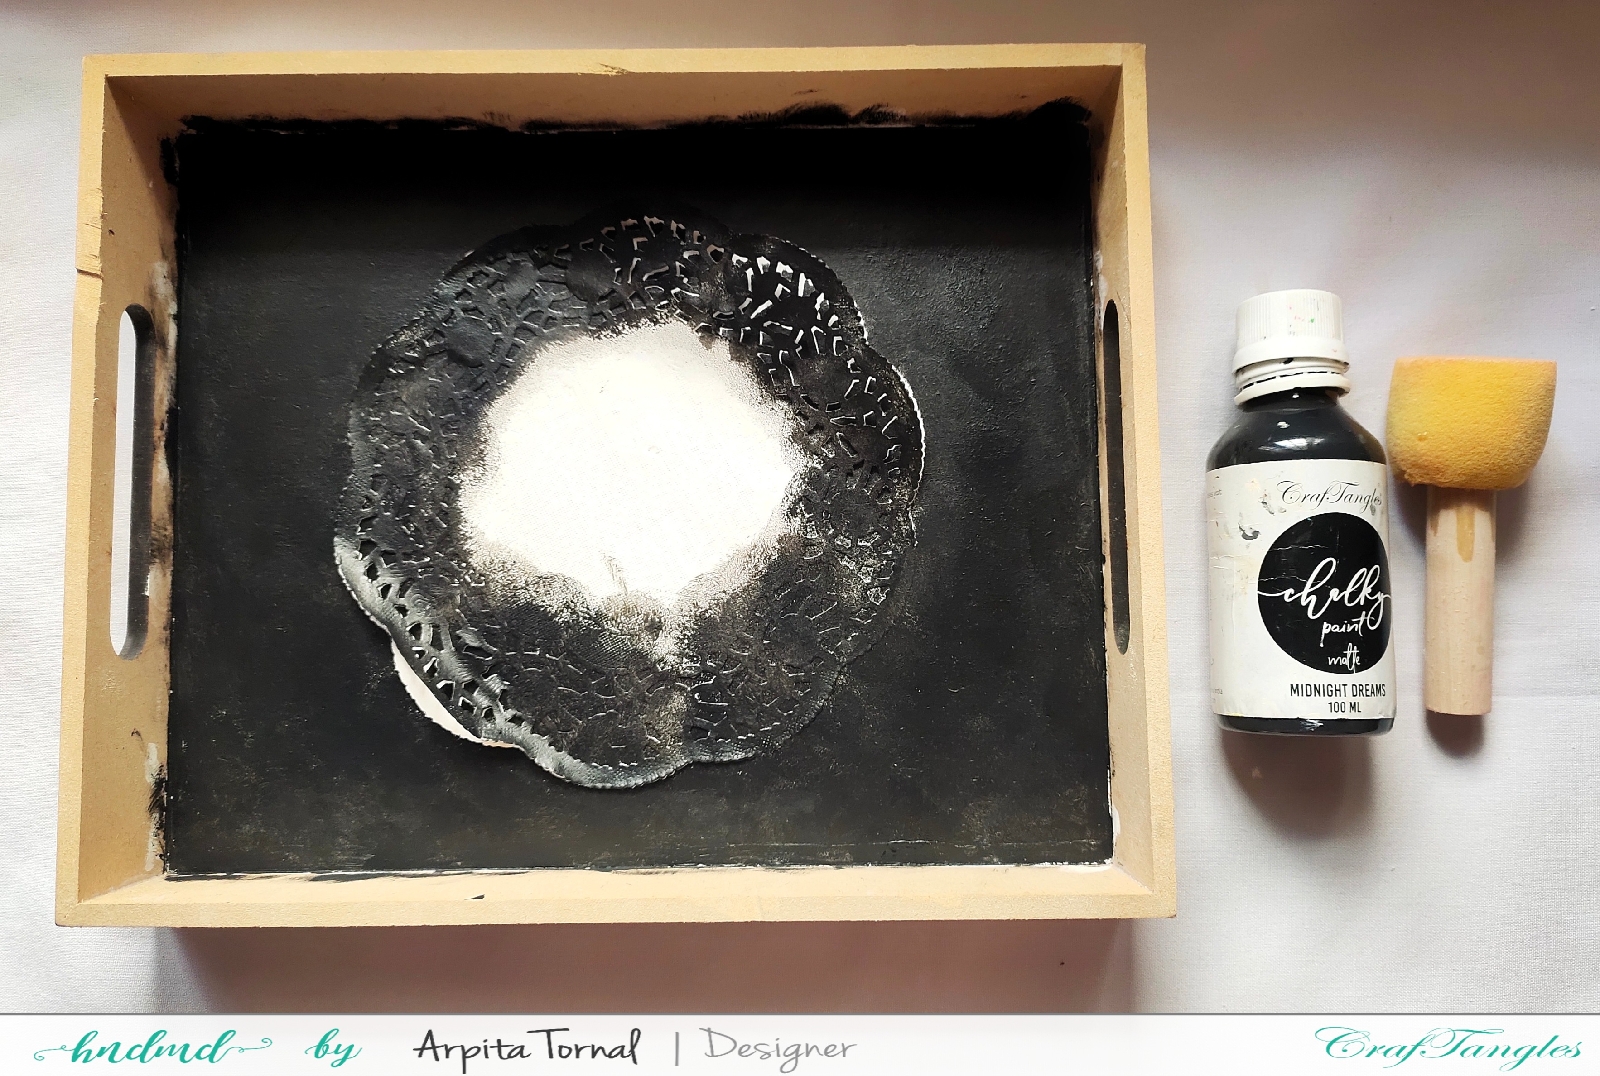
Once the paint dried I slowly remove the doily and paint the rest of the tray with the same midnight dream chalky paint. Fussy cut a floral image from the Floral frenzy Decoupage paper and glue it down with the Decoupage glue.

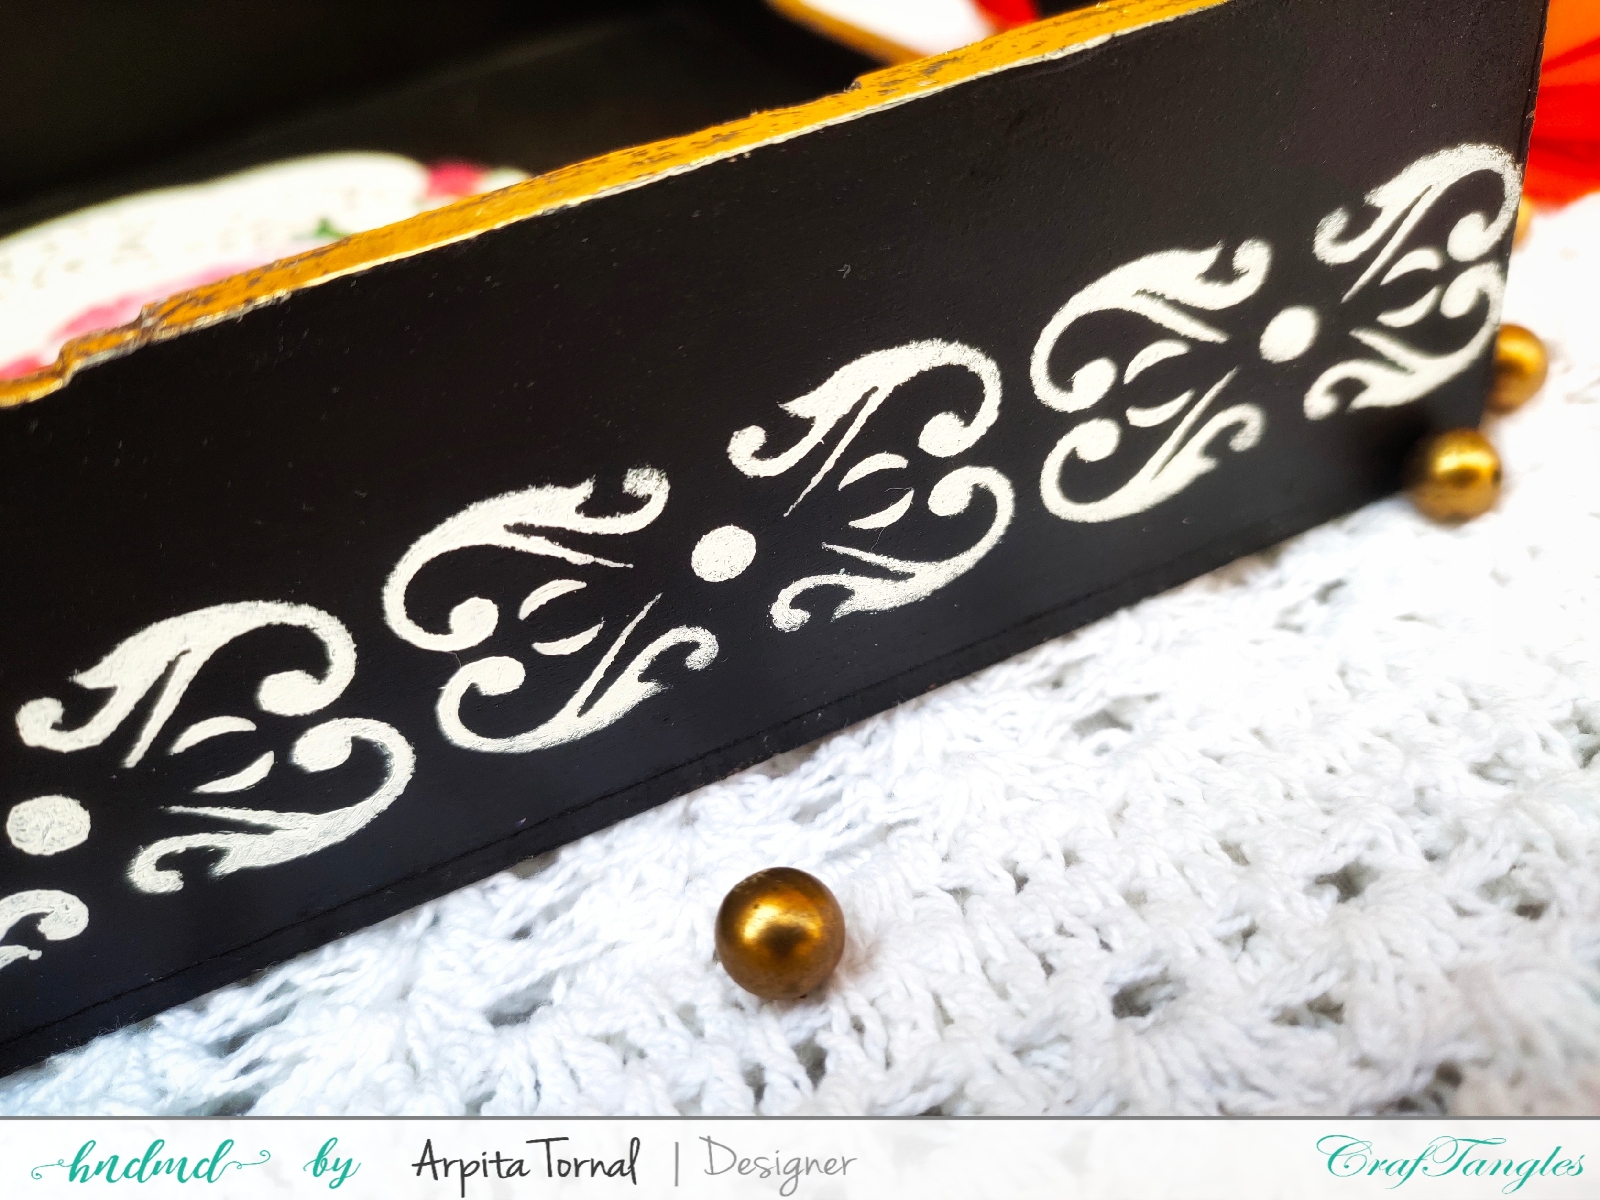
Next I chose the Damask Basics stencil,did stenciling on all the sides with the Snow white chalky paint.

Wanted to incorporate my new favourite product from Craftangles,Yes it’s their Reactive Foils which I am totally obsessed with. Using a brush I applied the foil Magic on the rim of the tray once it got tacky burnished the gold reactive foil over it. When you apply it looks cloudy as you see in the picture below but it dries clear,it is perfect product to stick the foils and gilding flakes.

Finally sealed the tray with Craftangles decoupage varnish. As it’s a tray and will be often handled have given 3 coats of varnish.

Here is how the Tray Looks

Thanks for stopping by...For customize orders and Workshop details you can connect with me on Facebook and Instagram

Materials used in today's project

Happy Crafting!!!
Arpita Tornal

Sunday, 10 January 2021

Upcycled Decoupage Box

Hello Everyone
Arpita here, excited to share my first decoupage post for 2021.Wishing you all a Very Happy and Healthy New Year! 

To upcycle ,give a new life ,a new purpose to an product is the most satisfying feeling for me as a crafter. So,I am very excited to share today’s upcycled project with you all.

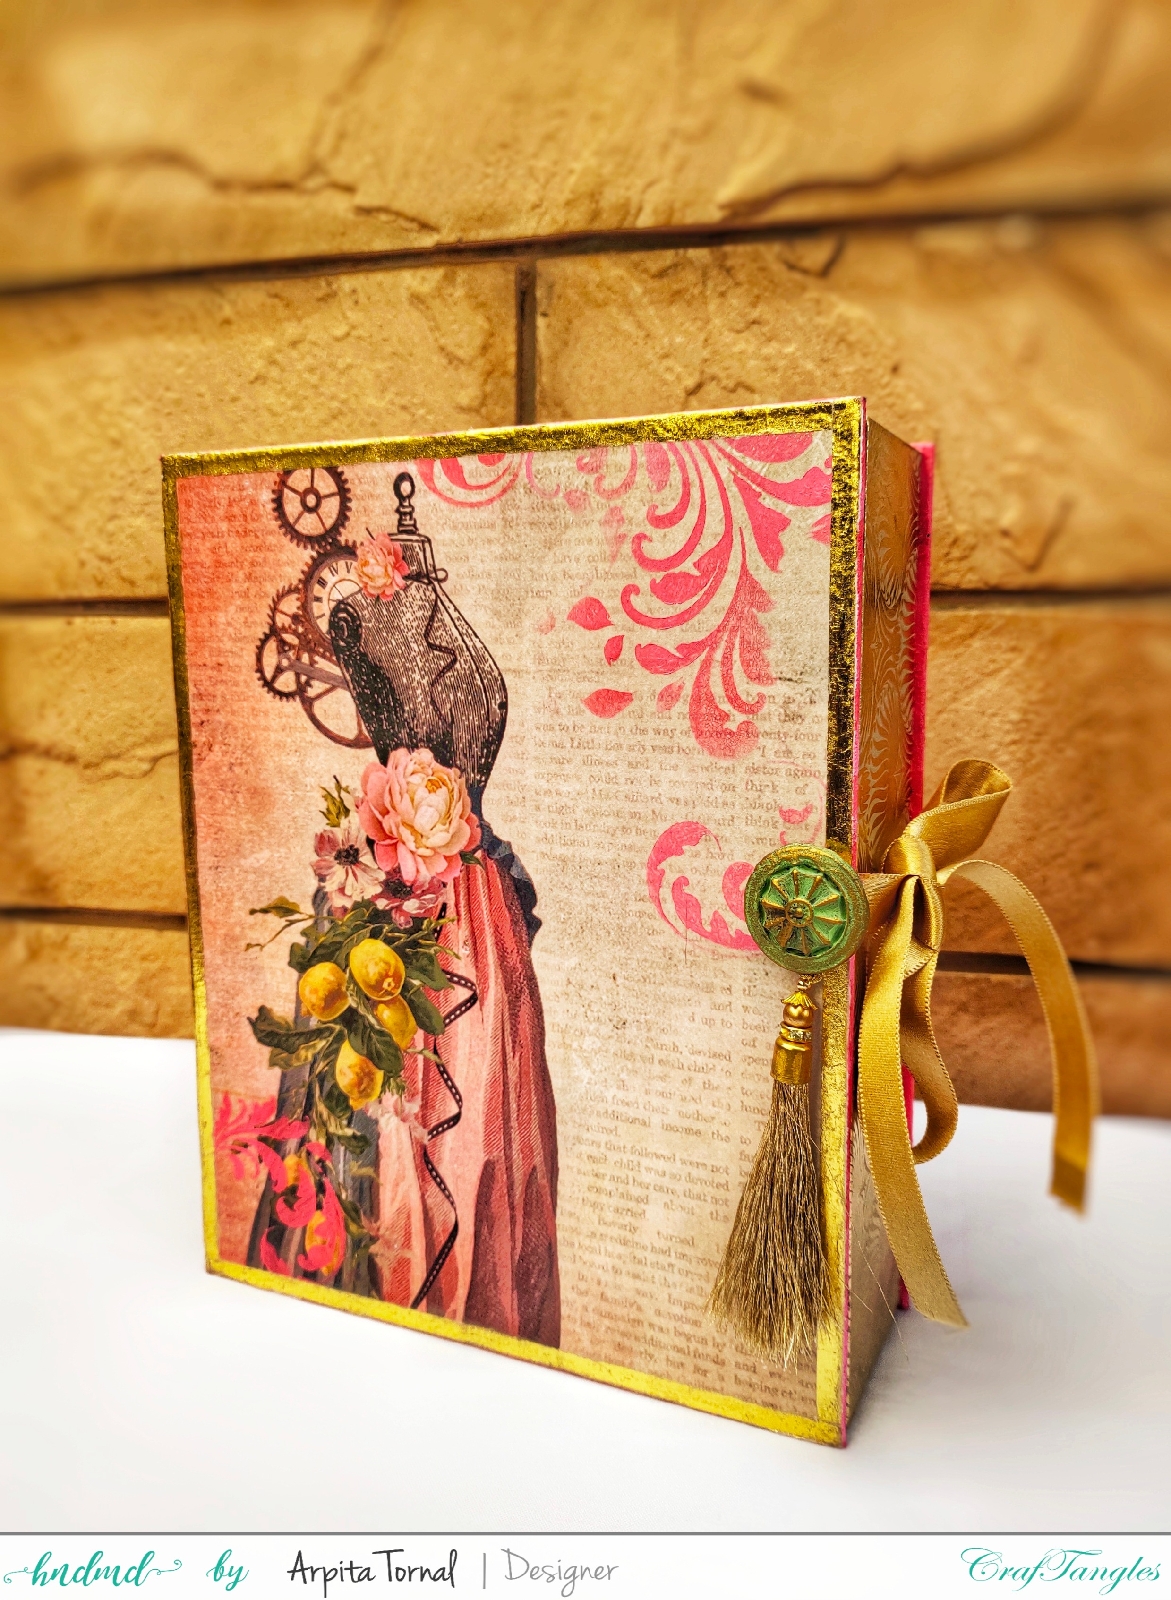
Received this wedding invite,which was this beautiful and a sterd’y box and there was no way that I was letting it go to trash. I Decoupage’d it with the beautiful Craftangles Vintage dress Decoupage Paper.

Below is the pictorial tutorial of how I have used Decoupage technique for upcycling

Apply a coat of white gesso and once dried I stuck the paper on the surface with the Craftangles decoupage glue. Sand the extra paper using the sand paper and give a top coat using the same Decoupage glue.

Next step was to paint the spine and the back of the box. I used the Bubblegum pink, Ruby red and snow white chalky paints. Using a sponge dauber, blended these 3 colors to achieve a shade of my choice.

Using the same colors I did stenciling on the front with the Flourish stencil from Craftangles. Always use a stencil brush while stenciling for the best results.

Now my favourite part,to use the Reactive Foils. Craftangles have come with Beautiful colors of reactive foils that are so perfect to add a touch of shine and elegance to your projects.

I have stuck the double sided tape on all the edges of the box creating a border.

Remove the top white of the double sided tape,keep the foil on top and burnish it well using your finger or a bonefolder. I used a popsticle to do the same. Look how Beautiful the foiling using the same technique I did foiling on the spine of the box as well.

Lastly I did more stenciling on the back of the box with the Craftangles Dream Big little one stencil. I used the vintage gold wax to stencil. To seal and protect your work apply a coat of Craftangles varnish to the complete box.

Here Is The Final Look Of The Box

Hope you enjoyed today’s tutorial

For Workshops and Customize orders Get in touch with me on Facebook and Instagram

Sunday, 13 December 2020

Decoupage Pillow Candle Holder

Hello Everyone

Arpita here, December is Christmas month and I have already started prepping for Christmas decorations. Today I have Decoupage’d a concrete pillow candle holder which will make a beautiful table decoration.
I will use a tissue to decoupage as they are perfect when you have uneven surface like this pillow holder and they look absolutely Gorgeous.

Pictorial Of the Decoupage Pillow Candle Holder

I choose this lovely tissue,which was perfect for this Christmas project.

Tear the edges of the tissue by slightly wetting the brush with water. Having uneven edges will help in blending the tissue and the background painting.

Tissues come as 2ply and 3ply tissues. So always remember to remove the extra layers .You will be working only with the top layer.

Next using the Craftangles decoupage glue I stuck down the tissue. For the best results always work in small portions while sticking the tissue and apply very little glue to avoid getting wrinkles and bubbles.

Next I blended the tissue and the background by doing shading with the ruby red and snow white chalky paints.

Finally I sealed with the Craftangles varnish and as it was still wet I sprinkled Craftangles Shimmer dust. I absolutely loved the effect of the shimmer dust it is so shiny and Beautiful ,I really wish I could capture the shine of this glitter better in the pictures. But believe me it’s just gorgeous and I am in love with it.

Here is the final look of the candle holder

Hope you all liked today's project.
We do customize order's and workshops of various handmade products. For details Connect with me Facebook and Instagram.

Materials Used
Thankyou for stopping by...
Happy Crafting!!!
Arpita Tornal

Wednesday, 11 November 2020

Decoupage'd Diya Platter

Hello Everyone
Arpita here,hope you all are doing fine.As Diwali is nearing today I am sharing a very easy and a beautiful project to make this festival.

Here is a detailed pictorial of the decoupage diya platter

I choose the Craftangles orange squash chalk paint . Painted the base with 2 coats letting them dry inbetween each coat.

Next i cut a strip from the Craftangles Floral Batik decoupage paper and stuck it using the decoupage glue. Also sealed the paper using the same glue.

Chose this Beautiful design of stencil to add texture. Used the Craftangles texture paste for the same.

Once the texture paste dried completely, covered it with the orange squash chalky paint and highlighted the texture with gold paint.

Finally gave a coat of Varnish to the whole platter and while the varnish was still wet sprinkled fairy dust on the decoupage’d part . The fairy dust is just perfect to add sparkle to your projects this festive season.

To place the diya made diy stands using mini empty bottles which I Decoupage’d using the same paper. Lastly decorated with some flowers.

Here is the final look

Hope you all liked this tutorial.
We conduct regular workshops and take customize orders.
Get in touch with me for all the info @ Instagram Facebook

Materials Used

Sunday, 11 October 2020

Vintage Decoupage Bottle

Hello Everyone

Arpita here,hope you all are doing well. Today I am sharing a altered decoupage bottle. 

Enjoy the Pictorial

I began with priming the surface. I painted the bottle with snow-white chalky paint.

I have chosen the Gentleman Decoupage Paper for today’s project. Next I cut out my chosen print to size of the surface and stuck it with Craftangles decoupage glue. Also gave a top coat using the same decoupage glue.
I also did clay work around the Decoupage’d print as you see in the picture.


I created some beautiful texture all over the bottle using craftangles texture paste and crackle paste.

Final step was to add color. Once my texture paste dried I painted all of my clay work work with vintage blue chalky paint and let it dry.

Next to highlight all the texture I dry brushed with midnight dream chalky paint and art Alchemy vintage gold wax.

This is how the bottle looks


Hope you all liked this tutorial.
We conduct regular workshops and take customize orders.
Get in touch with me for all the info @ Instagram Facebook

Materials Used in Today's Project

Sunday, 6 September 2020

Decoupage on Tote Bag

Hello Everyone

Arpita here,hope you all are doing well. Today,I have decoupage’d a tote bag 

Let’s Begin With The Tutorial of Decoupage of the Tote Bag

I divided the surface into 9 equal boxes as you see in the below picture and have painted each box with different colours of chalky paint from Craftangles.

Next for each square I have used different Decoupage prints, Decoupage tissue and also did just stenciling in couple of squares.

Using Decoupage glue I stuck the tissues and all the fussy cut decoupage paper. Give a top coat using the same decoupage glue. Finally seal it with a coat of varnish.

Here are the close ups

Here is the final look...
You can also follow me / Contact me for customised orders/ Workshops @


Thankyou for stopping by
Happy Crafting!!!
Arpita Tornal


Friday, 10 July 2020

Decoupage On Pot

Hello Everyone

Arpita here ,Sharing with you all another beautiful home decor project today. I have done Decoupage on a Pot and here I am sharing a pictorial tutorial for the same.


Step by step process on How i did decoupage on Pot –

I begin by giving a coat of gesso.Once gesso dried I painted the pot with Ivory lace Chalky Paint.

Next using the wash technique I added the Funky Fern CrafTangles Chalk paint.

What is Wash Method – make the paint very thin by adding water. Apply this with a brush and immediately wipe it off with a clean cloth. By applying this way it only adds a tinge of the colour creating a beautiful effect.

To add more interest I did stenciling.I have used a motif from the Indian Motif From Craftangles.

I have chosen the Black floral print Decoupage paper for today’s project. I cut the part of the print I wanted to use.Stuck it using the Decoupage glue. Also did clay work around the print.

Finally I painted the clay work and did a little splatters all over with black and white paints.Once all the paint work dried I sealed it with a varnish.


Here is the final look at the pot I created using Decoupage


 Materials Used

Bubblegum pink Chalky Paint
https://www.hndmd.com/craftangles-chalky-paint-bubblegum-pink-100-ml-ctcpbp100

Decoupage Glue - https://www.hndmd.com/craftangles-decoupage-glue-120-ml-ctdg120

Midnight dreams Chalky Paint -
https://www.hndmd.com/craftangles-chalky-paint-midnight-dreams-100-ml-ctcpmd100

Funky Fern Chalky Paint -
https://www.hndmd.com/craftangles-chalky-paint-funky-fern-100-ml-ctcpff100?search=Funky%20fern

Ivory Lace Chalky Paint -
https://www.hndmd.com/craftangles-chalky-paint-ivory-lace-100-ml-ctcpil100?search=Ivory%20lace

Snow White Chalky Paint - https://www.hndmd.com/craftangles-chalky-paint-snow-white-100-ml-ctcpsw100

Black floral print - Decoupage paper
https://www.hndmd.com/craftangles-decoupage-paper-pack-black-floral-print-a4-4-sheets-ctdpbfa4

Indian Motif Stencils -
https://www.hndmd.com/craftangles-6x6-stencil-indian-motifs-ctcs48

https://www.hndmd.com/articles/craftangles-monthly-craft-challenge-july-2020/

That was the tutorial for today, I hope you all enjoyed it. I will be back with another decoupage tutorial soon, till then be safe 🙂

Decoupage on Terracotta Pot