Showing posts with label craft. Show all posts

Tuesday, 9 March 2021

Floral Decoupage'd Tray

Hello Everyone
Arpita here, how is everyone doing today? i am back with another decoupage tutorial. Hope you love this Black Beauty as much as I loved making it. 

Detailed pictorial tutorial of the Decoupage’d Tray

The wooden tray is from Craftangles from their wide range of wooden bases. Painted the inside with the white Snow Chalky Paint.

Next I stencil with a doily. I tape it down with a piece of masking tape so it doesn’t move.

Using a sponge dauber I paint over it with the midnight dream chalky paint. While doing this make sure you do not have excess paint on your sponge to get a crisp stencil image.
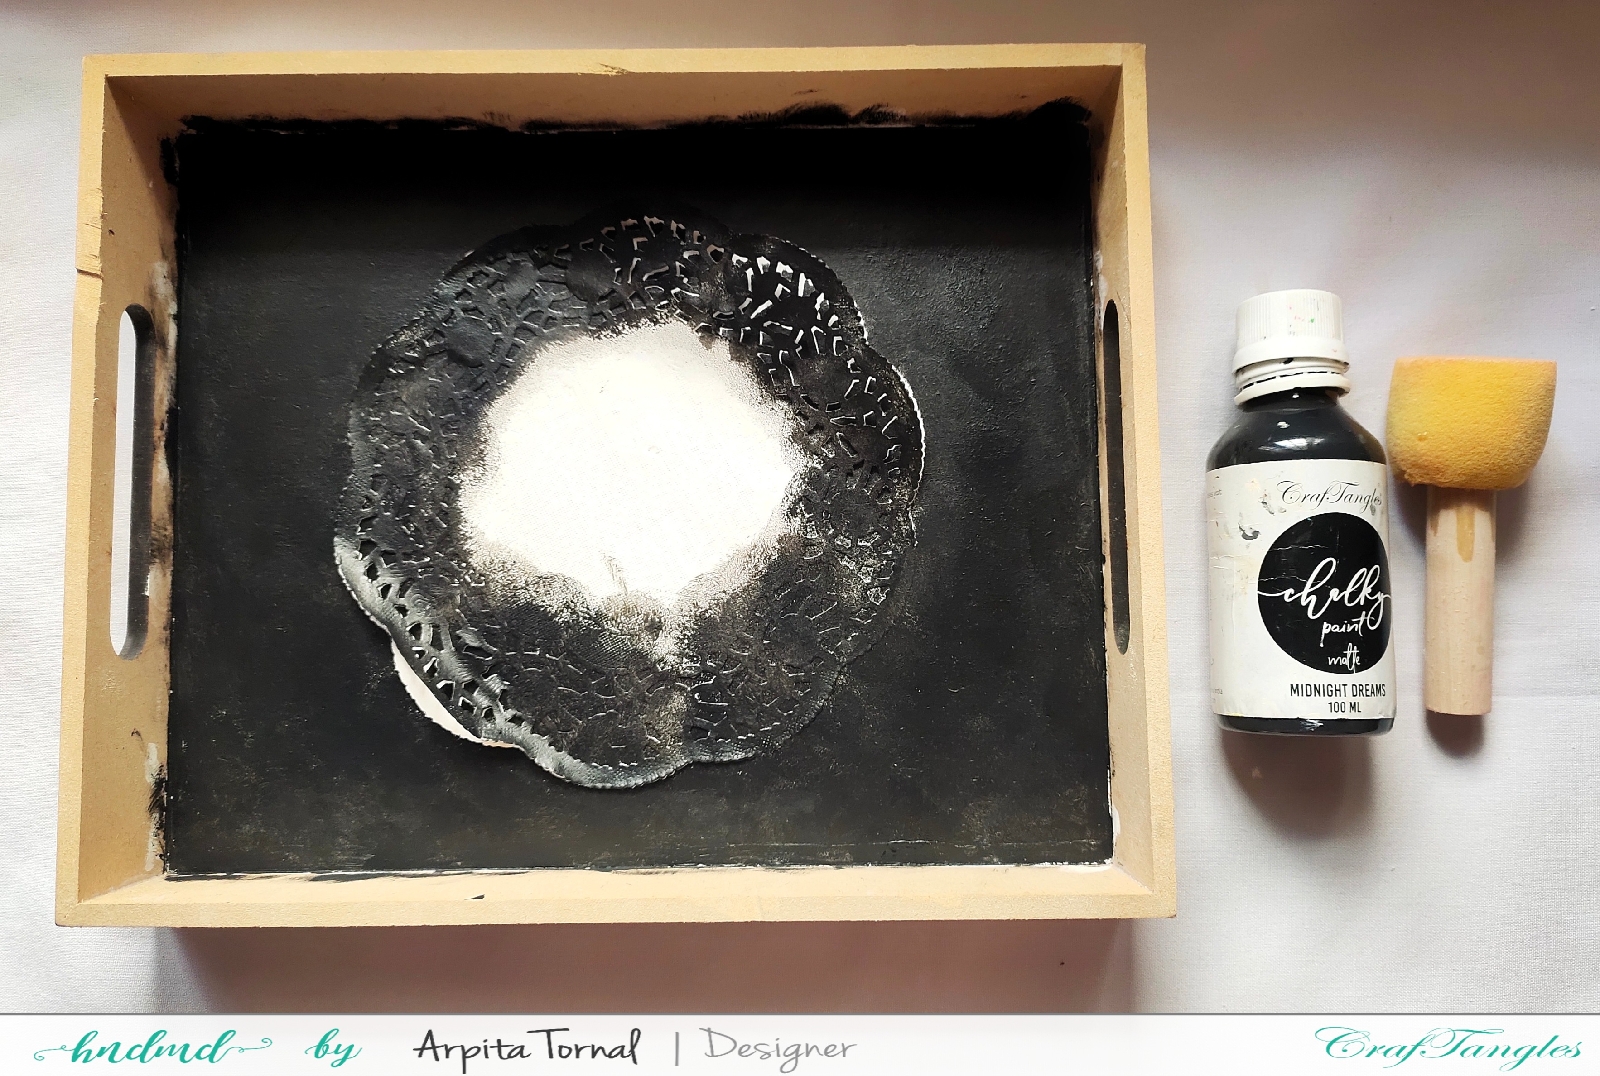
Once the paint dried I slowly remove the doily and paint the rest of the tray with the same midnight dream chalky paint. Fussy cut a floral image from the Floral frenzy Decoupage paper and glue it down with the Decoupage glue.

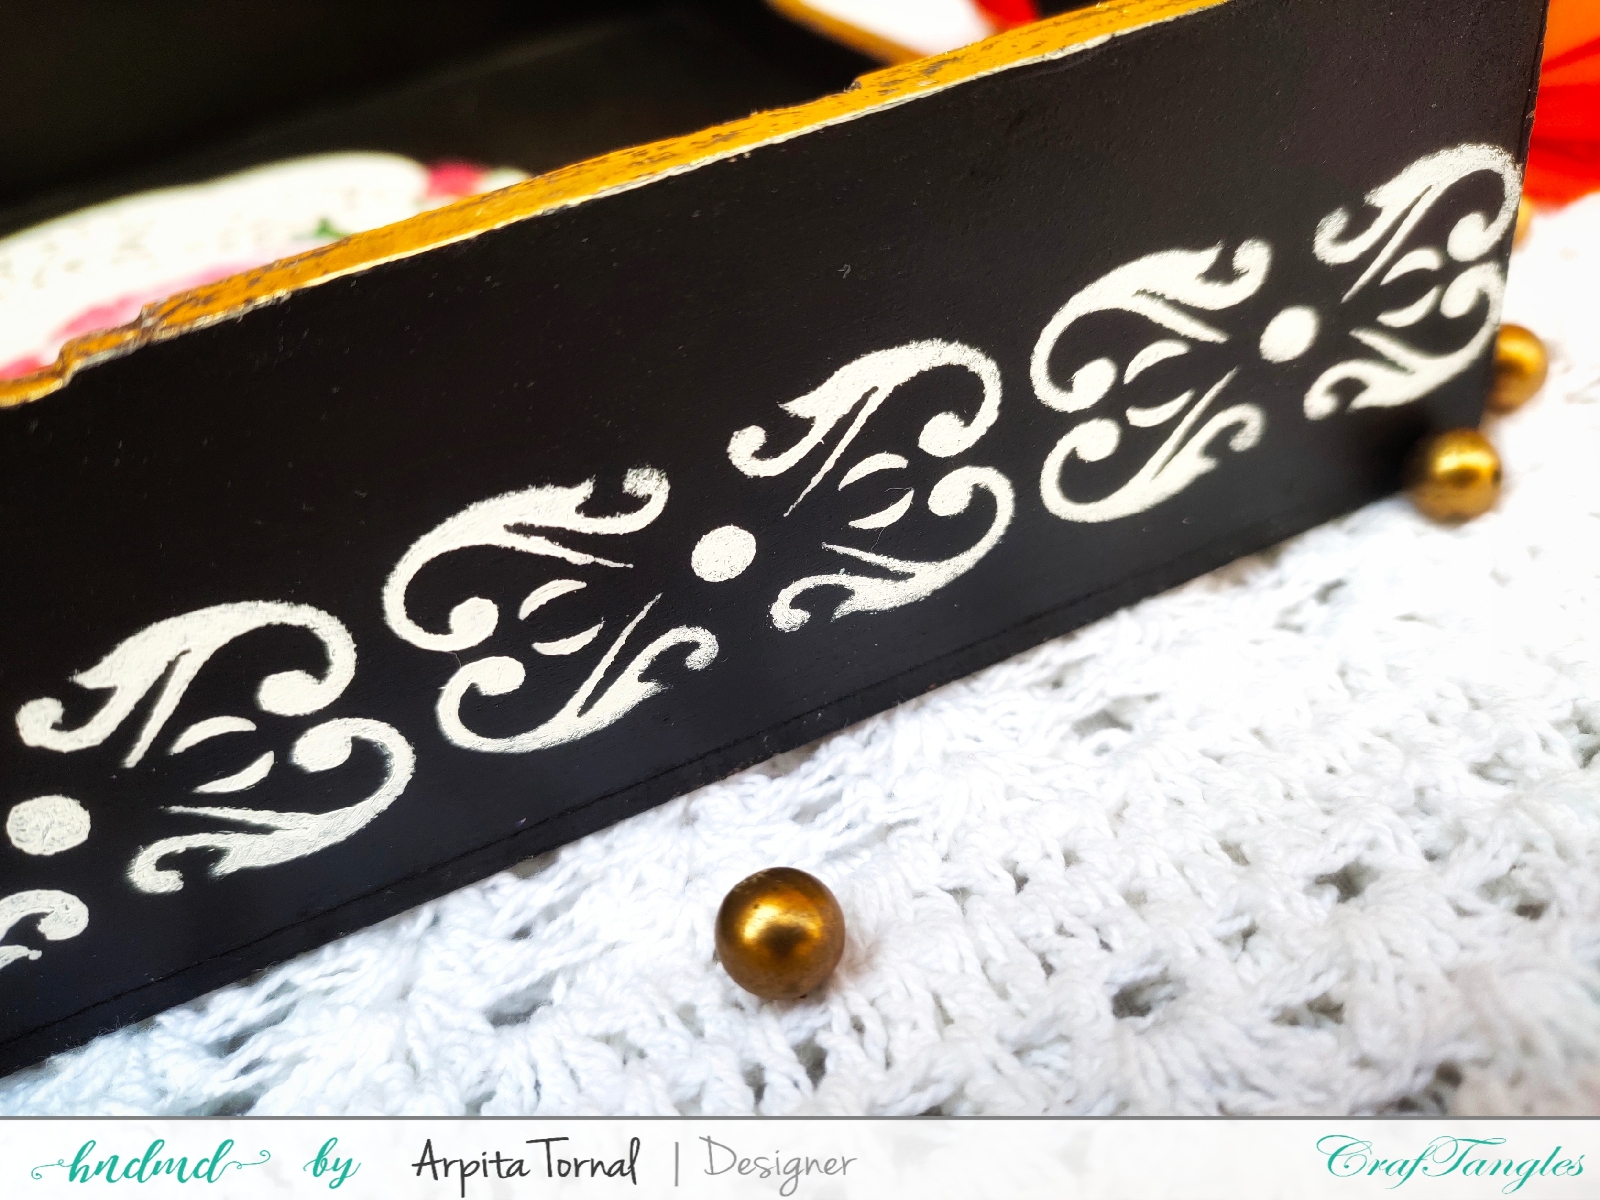
Next I chose the Damask Basics stencil,did stenciling on all the sides with the Snow white chalky paint.

Wanted to incorporate my new favourite product from Craftangles,Yes it’s their Reactive Foils which I am totally obsessed with. Using a brush I applied the foil Magic on the rim of the tray once it got tacky burnished the gold reactive foil over it. When you apply it looks cloudy as you see in the picture below but it dries clear,it is perfect product to stick the foils and gilding flakes.

Finally sealed the tray with Craftangles decoupage varnish. As it’s a tray and will be often handled have given 3 coats of varnish.

Here is how the Tray Looks

Thanks for stopping by...For customize orders and Workshop details you can connect with me on Facebook and Instagram

Materials used in today's project

Happy Crafting!!!
Arpita Tornal

Sunday, 13 December 2020

Decoupage Pillow Candle Holder

Hello Everyone

Arpita here, December is Christmas month and I have already started prepping for Christmas decorations. Today I have Decoupage’d a concrete pillow candle holder which will make a beautiful table decoration.
I will use a tissue to decoupage as they are perfect when you have uneven surface like this pillow holder and they look absolutely Gorgeous.

Pictorial Of the Decoupage Pillow Candle Holder

I choose this lovely tissue,which was perfect for this Christmas project.

Tear the edges of the tissue by slightly wetting the brush with water. Having uneven edges will help in blending the tissue and the background painting.

Tissues come as 2ply and 3ply tissues. So always remember to remove the extra layers .You will be working only with the top layer.

Next using the Craftangles decoupage glue I stuck down the tissue. For the best results always work in small portions while sticking the tissue and apply very little glue to avoid getting wrinkles and bubbles.

Next I blended the tissue and the background by doing shading with the ruby red and snow white chalky paints.

Finally I sealed with the Craftangles varnish and as it was still wet I sprinkled Craftangles Shimmer dust. I absolutely loved the effect of the shimmer dust it is so shiny and Beautiful ,I really wish I could capture the shine of this glitter better in the pictures. But believe me it’s just gorgeous and I am in love with it.

Here is the final look of the candle holder

Hope you all liked today's project.
We do customize order's and workshops of various handmade products. For details Connect with me Facebook and Instagram.

Materials Used
Thankyou for stopping by...
Happy Crafting!!!
Arpita Tornal

Decoupage on Terracotta Pot