Hello My Crafty Friends...
It's Arpita here.. As we all know Rakhi Festival is around the corner and I am sure most of you have started with the preperations,buying/making the rakhis,buying gifts,inviting family and friends,we love our festivals,don't we?
Today I am sharing with you all a lovely rakhi style hand made card to gift your brothers,hope you all love it and will try making one too.will add a tutorial below,do check it out
so here is what i made...
Tutorial
Step 1
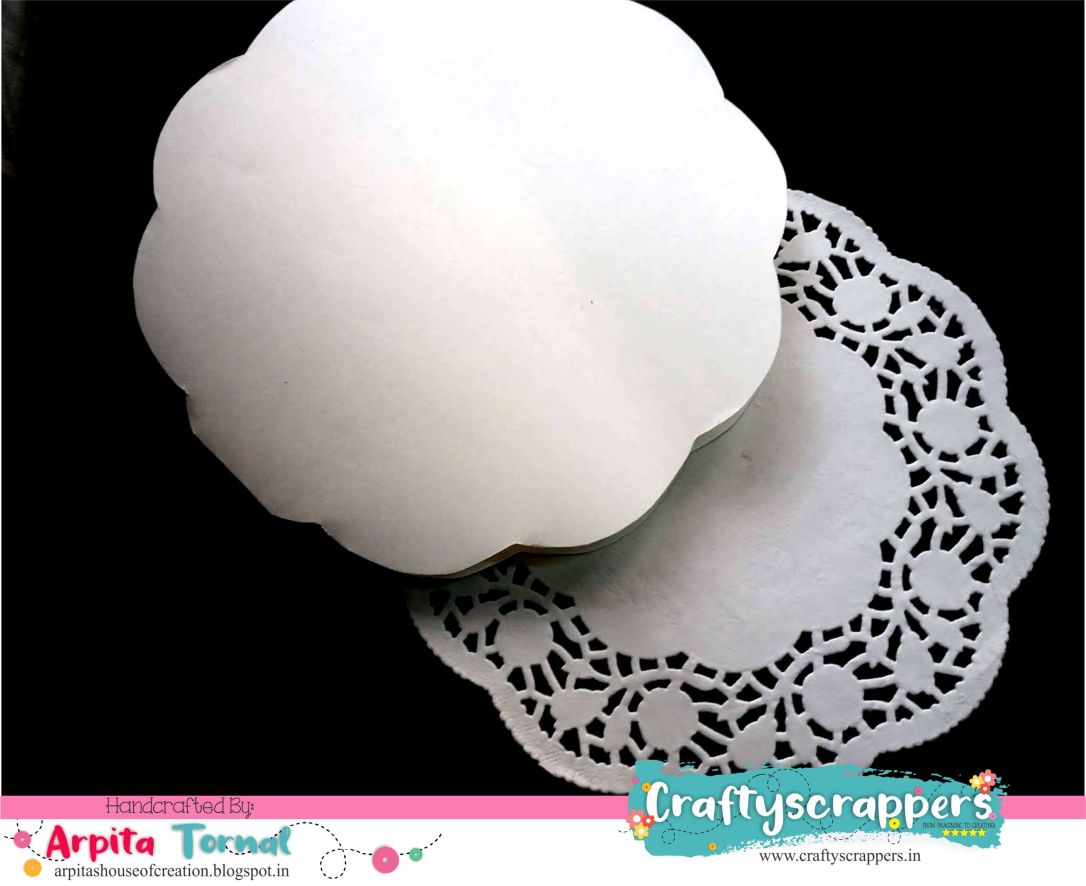
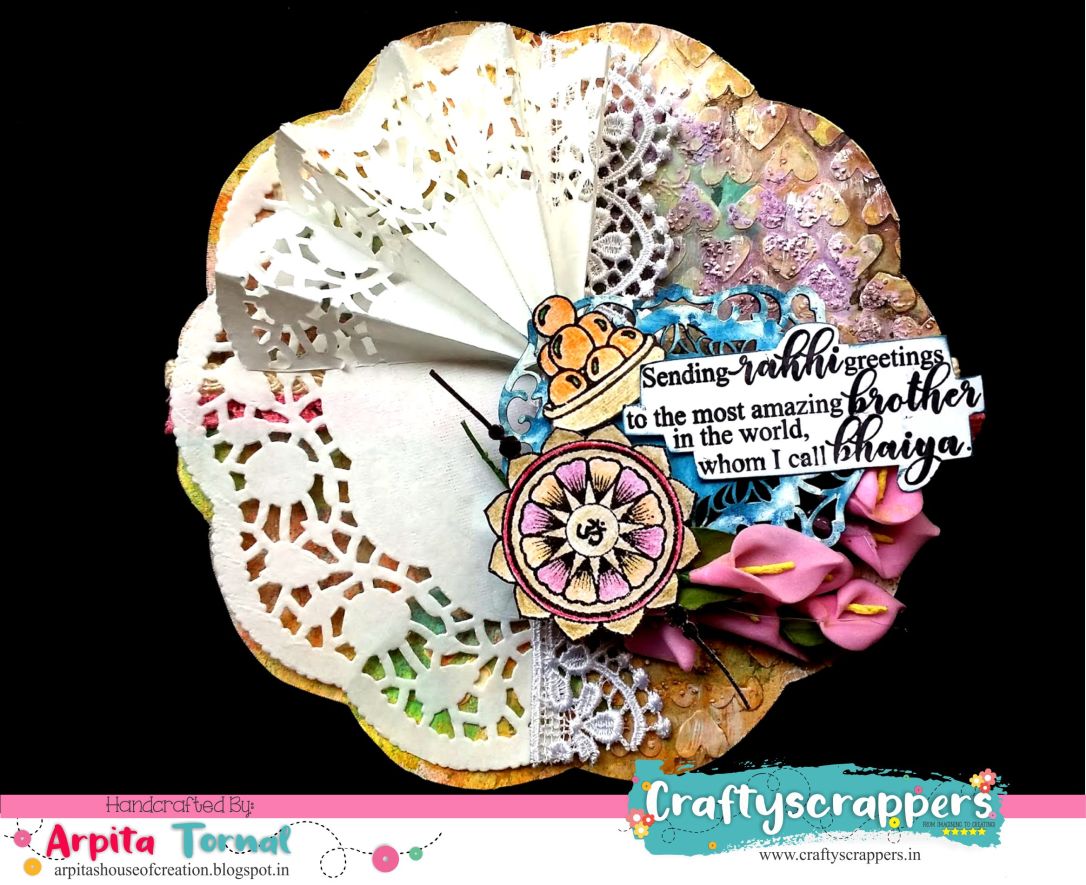
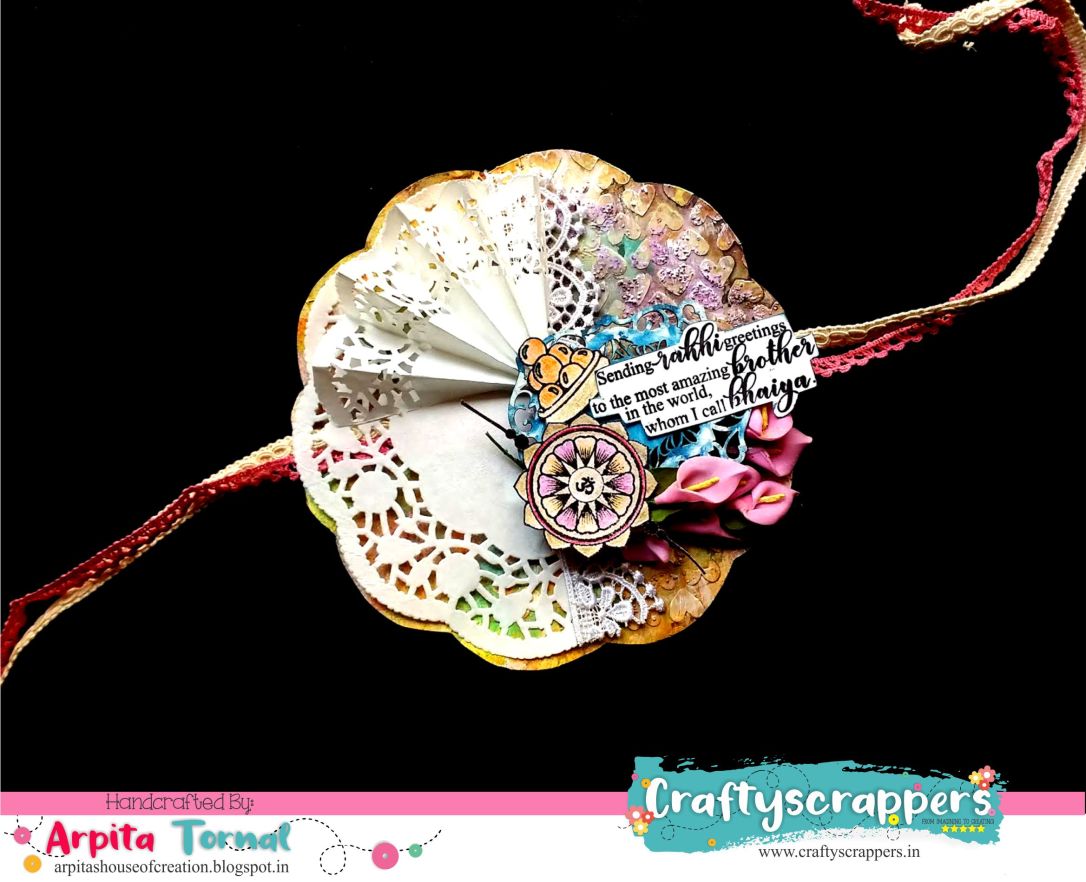
I choose a 6inch doilie for my card.to make my card base i have used a thick card board,drew the outline of the doilie and cut the shape.I have cut the card base a little bigger than the doile so that i will a little border when i stick the doilie.
Step 2
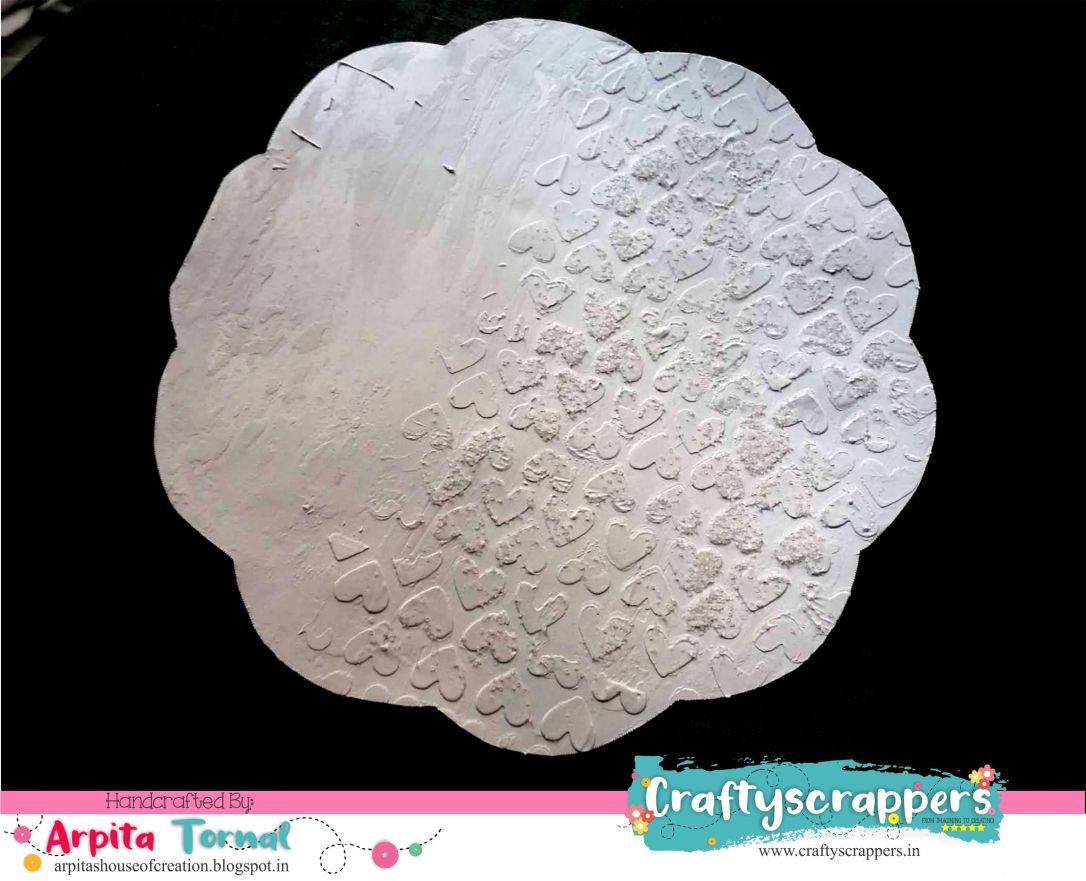
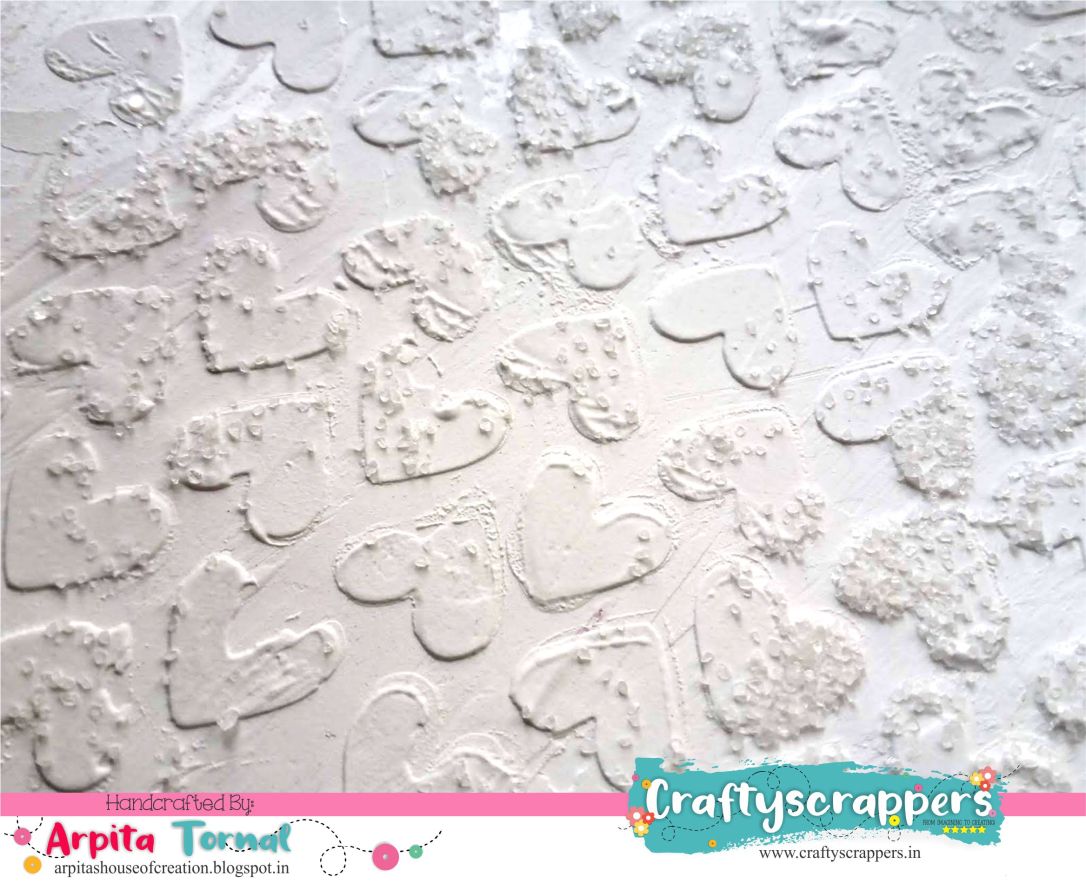
To prime my card have applied a coat of white gesso,and let it dry.choose the hearts stencil from craftyscrappers to add texture.spread the modelling paste through the stencil and as it was still wet i sprinkled some texture sand over it.
Step 3
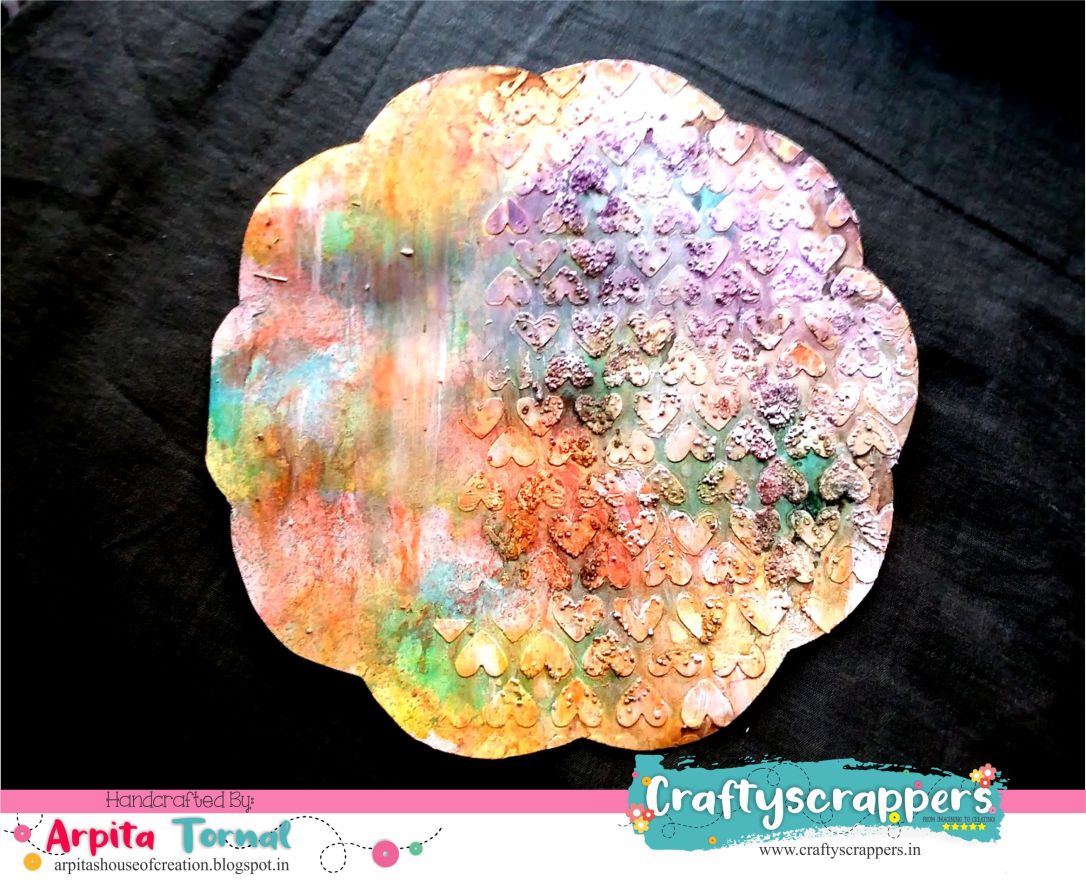
used the shimmer sprays to add color.have used sweet pumpkin ,dancing peacock , sweet sunshine,lushy orchid shimmer sprays.used the shimmer sprays by spraying and alternating the colors and drying them inbetween layers till i was happy with the coloring.to highlight the textures did some dry brushing with white gesso and i was done with my coloring part.
Step 4
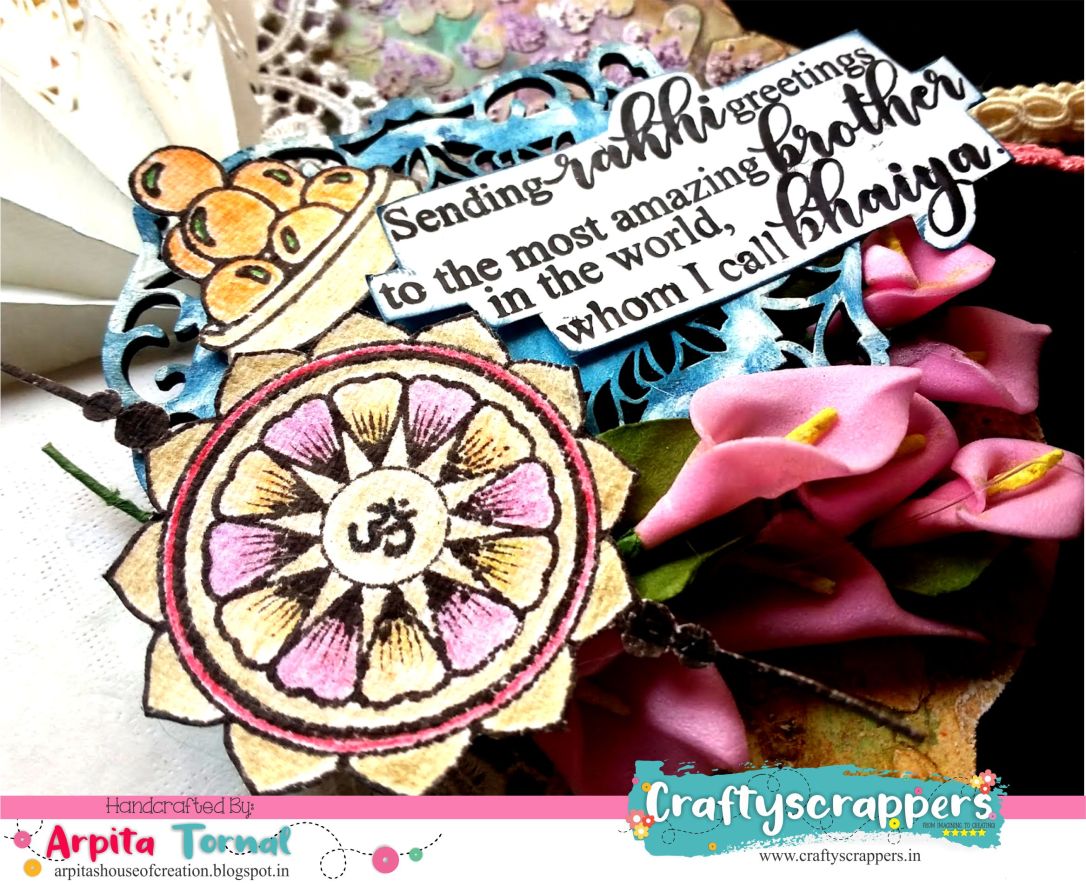
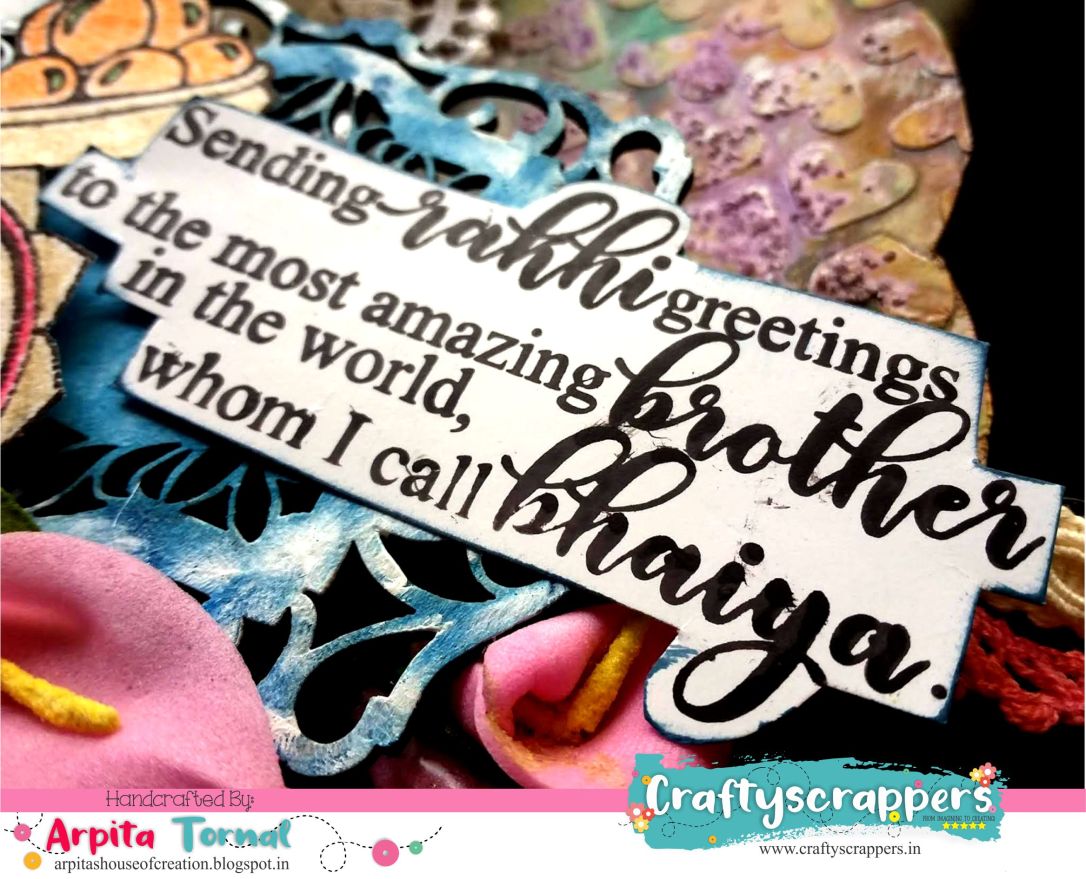
The final step was to add the embelishments.using the Happy Rakhi stampset,stamped the image of the sentiment, rakhi image and the sweets using black archival ink
Materials used
To buy the listed materials below clickHERE
SHIMMER SPRAYS
1 Sweet pumpkin
2 Dancing Peacock
3 Sweet sunshine
4. Lushy Orchid
5. Ocean wave
STENCIL
1 Hearts
STAMPSET
1 Happy rakhi
Thankyou for stopping by...
see you soon with another interesting project,till then
Happy Crafting!!!
Arpita


No comments:
Post a Comment