Tuesday, 31 July 2018

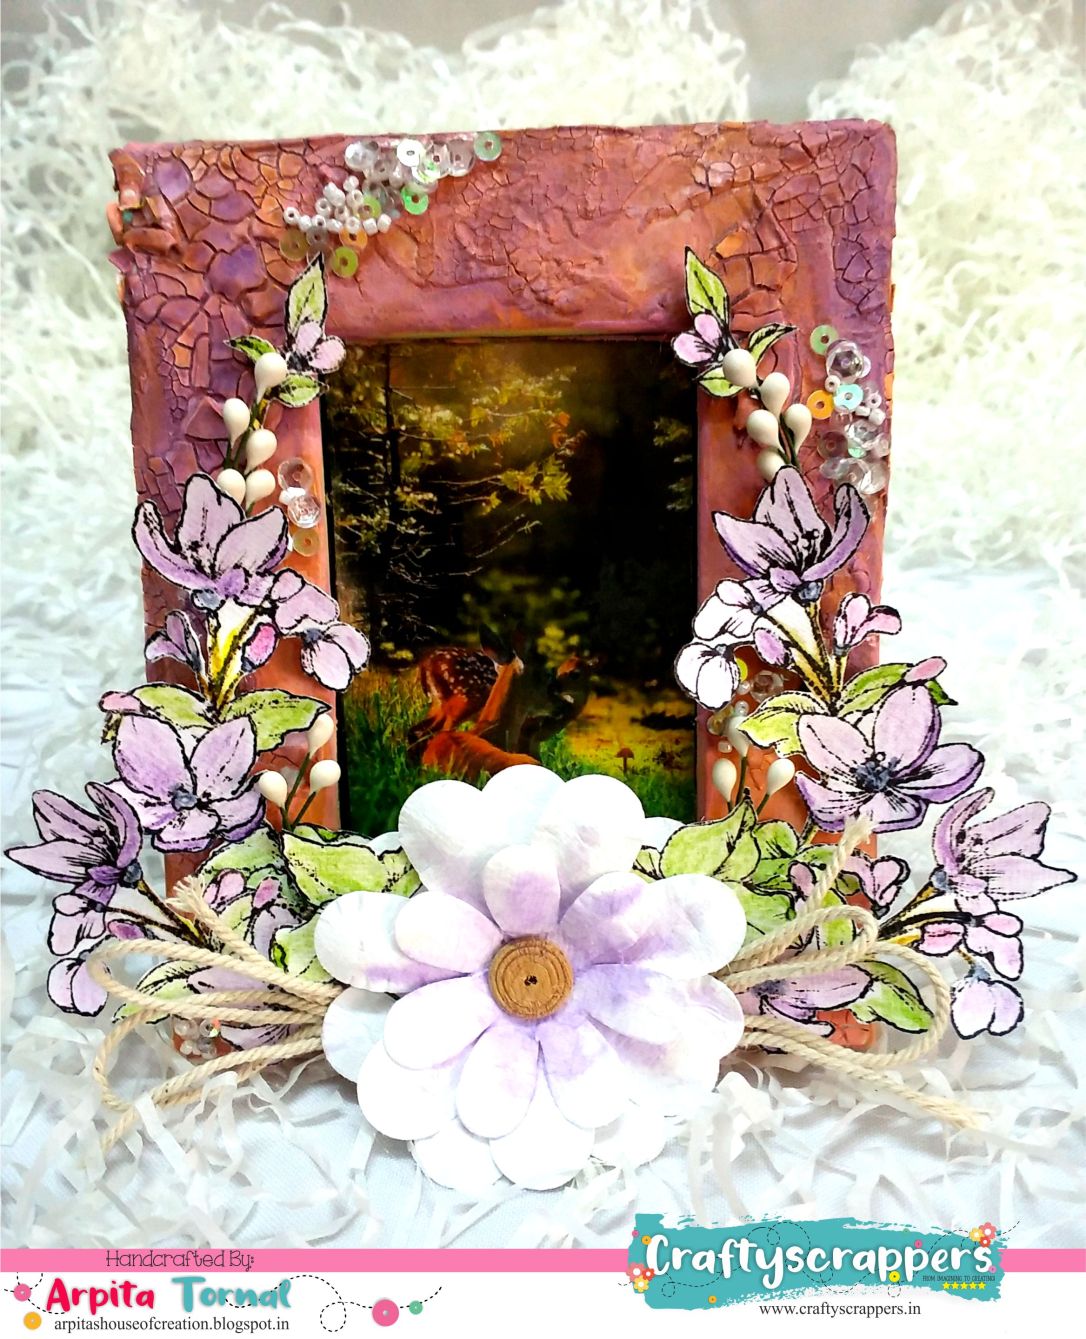
Alterd Frame(craftyscrapers)


Hello My Crafty Friends...

It's me Arpita on the blog today,so today im sharing a project which i made using a technique that is new to me,tried this stamping technique for the very first time.Hope you enjoy the project and be inspired to try it too.I have an Alterd frame to share with you ,its always fun to give a new life to an old product.

 So here is what i made.....
                                   
20180723_115111.jpg


Tutorial

Step 1
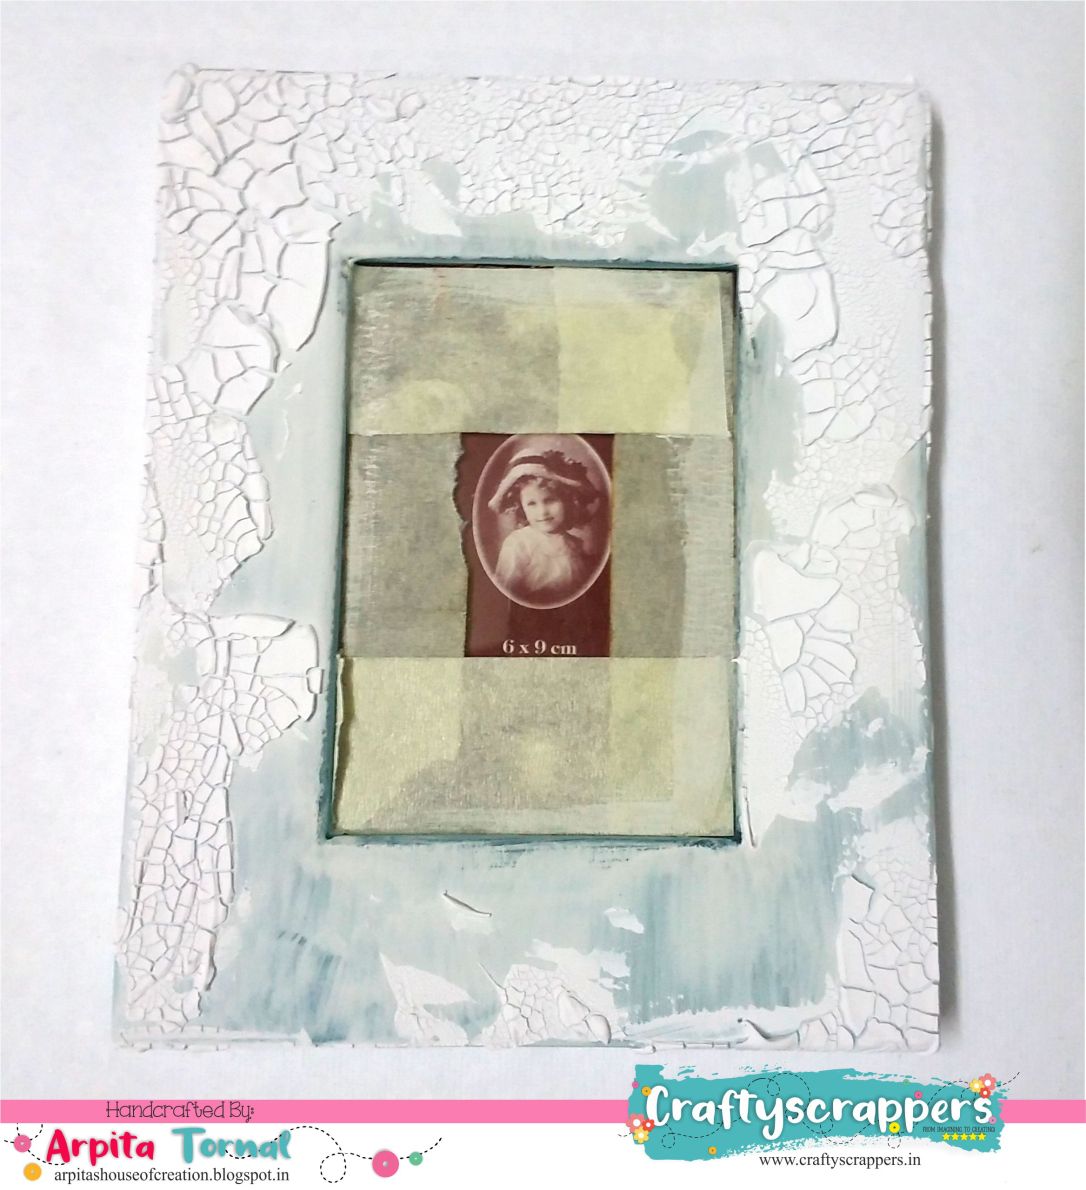
 have primed the surface with 2 coats of white gesso and have covered the inside with a masking tape so i need not be worried about getting the paint on the photo area.
Have spread white crackle paint randomly using the pallete knife.
20180721_191150.jpg


Step 2
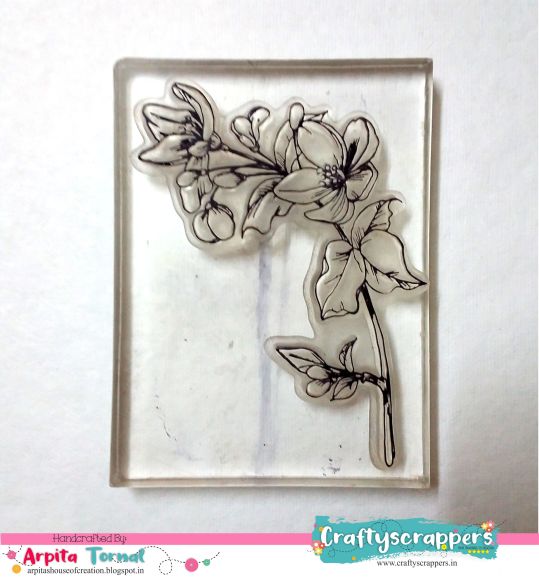
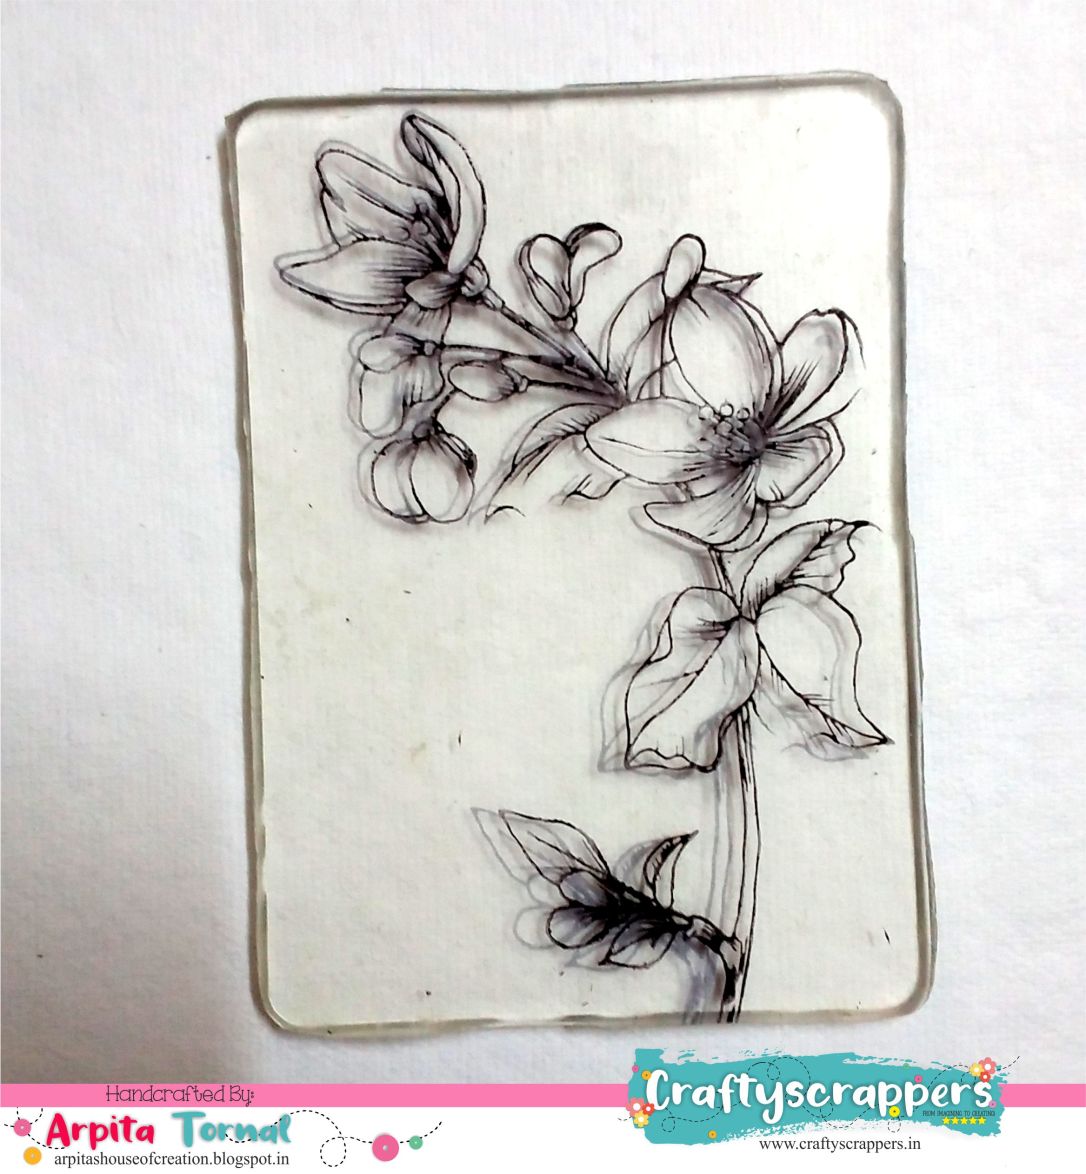
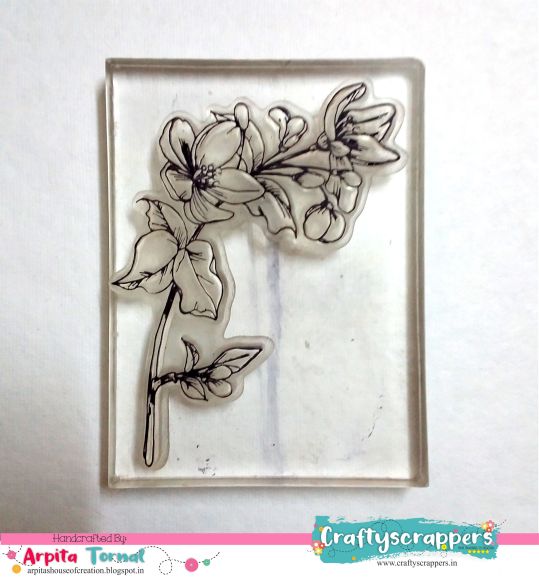
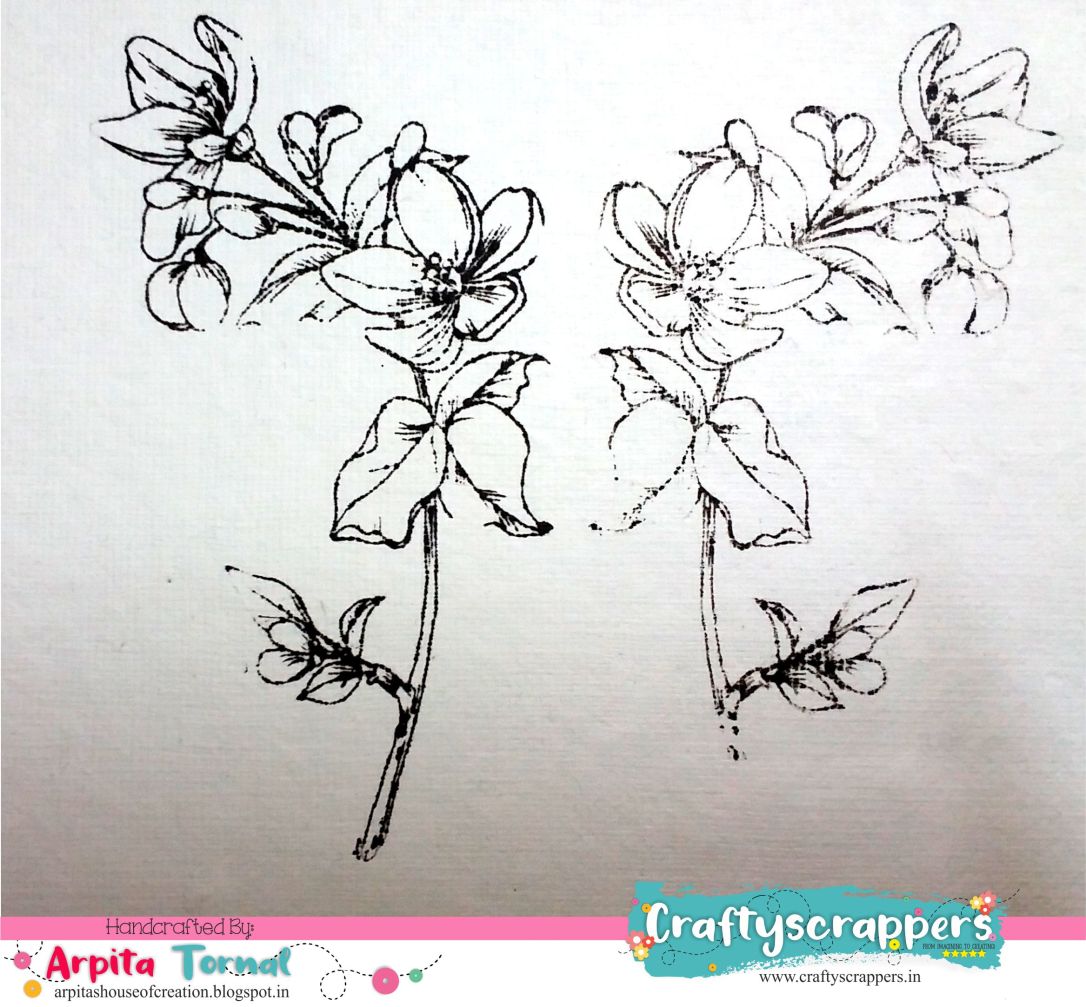
This is the fun part,i prepared some stamped images to make some elements for my frame.choose this flowery stamp have used a black dye ink to stamp my images.To make the mirror image of this flower I stamped the image on to the mirror stamp set from craftyscrappers and then placed a card stock over the mirror stamp and slowly pressed down and the image was transferred  and i had a mirror image,this was a super fun technique.
20180719_122826
20180719_122827

20180719_122855.jpg

Step 3
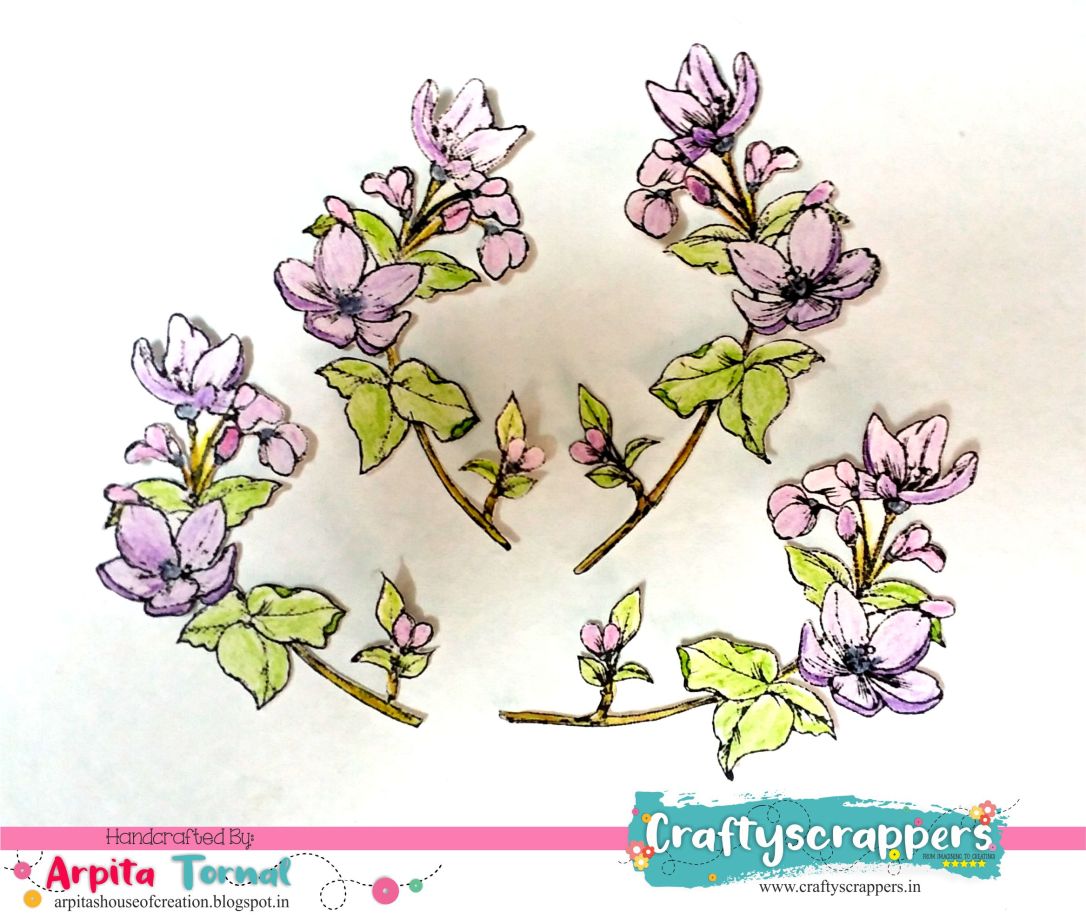
U see the mirror image is light,i am no expert in stamping..so please excuse me and i wasnt too worried i just used a black marker pen to darken the lines.Then colored these images using some color pencils and fussy cut them.
20180719_123122.jpg
20180720_140740.jpg

Step 4
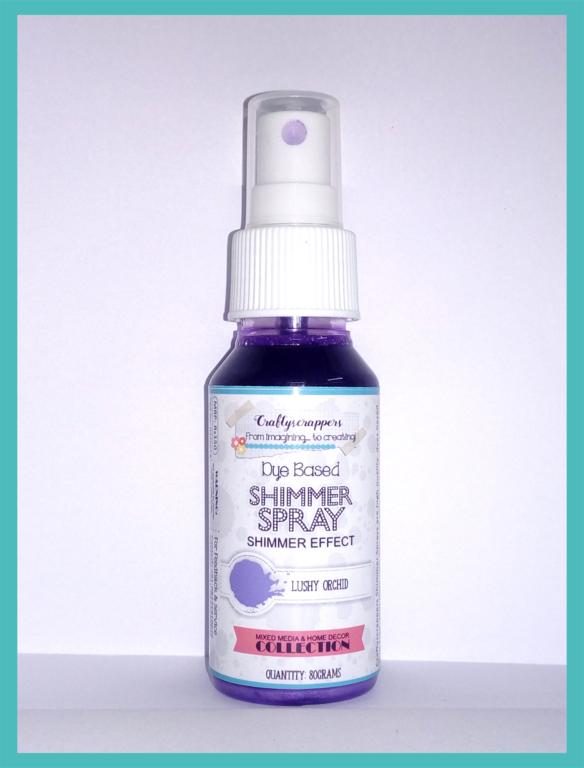
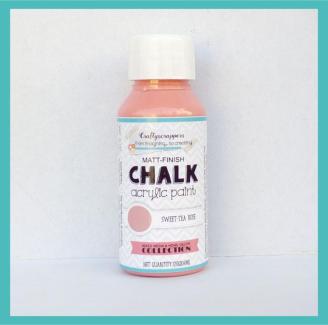
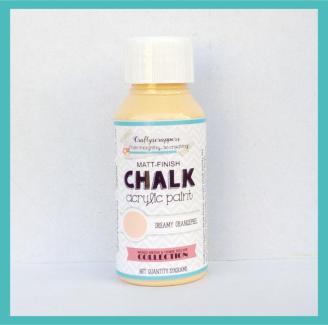
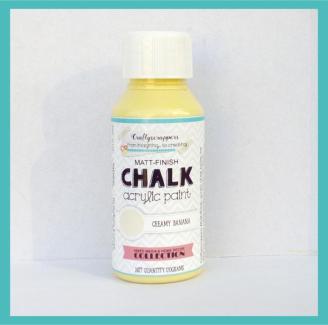
Now it is time to color my frame,i have used Dreamy orangepeel,Sweet-tea rose,creamy banana Chalk paints and Lushy orchid shimmer spray from Craftyscrapper to colour.
I have diluted these chalk paints with little water and kept adding layers of thiese colors,drying them inbetween each layer of paint. till i was happy with the shades.
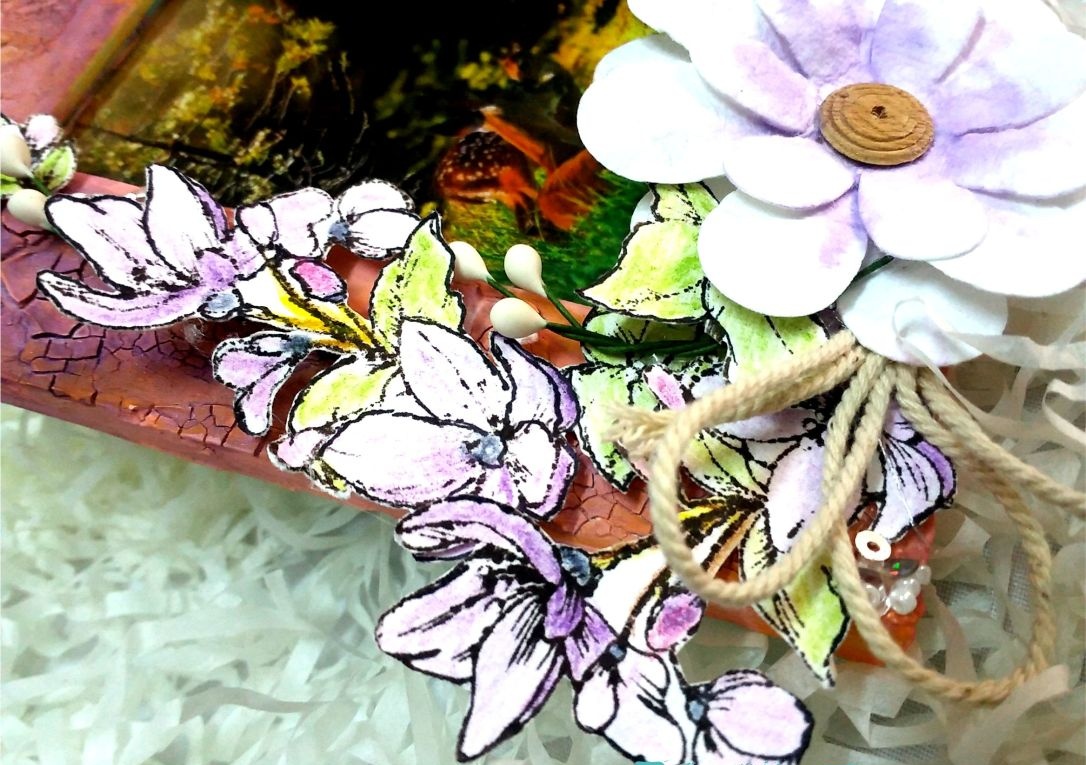
And finally added a flower , fussy cut elements ,thread.to add some interest have used some pollens and  Briadal dress shaker elements from craftyscrappers and I was done with my frame.

Materials used


Image result for papericious crackle pasteCS-SSP-09LUSHYORCHID_584x768CS-CLK-01-SWEETTEAROSE_774x768CS-CLK-08-DREAMYORANGEPEEL_774x768CS-CLK-14-CREAMYBANANA_774x768

Thank you for stopping by......
Happy Crafying!!!
Arpita

Challanges


Sunday, 29 July 2018

Relax,Rejuvenate (ATC)

Hello My Crafty Friends...


How are you all doing?Today I am sharing with you all a set of ATC ,these are my first ATC and it was a lot of fun to make these little art creations.

Here is what I made...


Materials Used
  
   dots and stripes stencil
click HERE to buy this stencil.
         
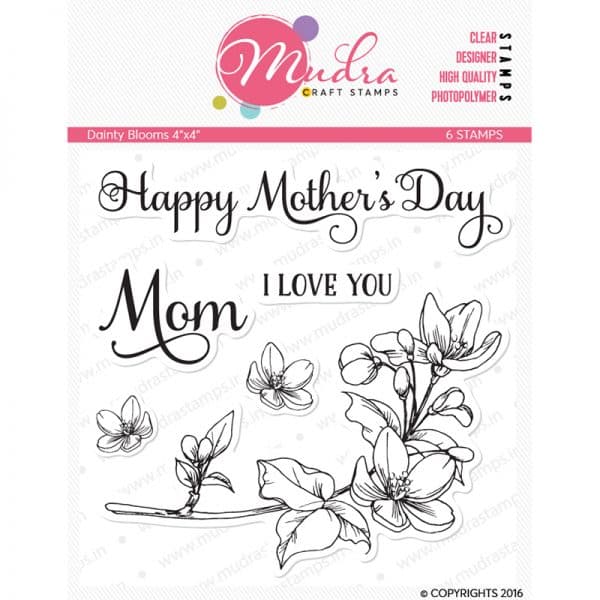
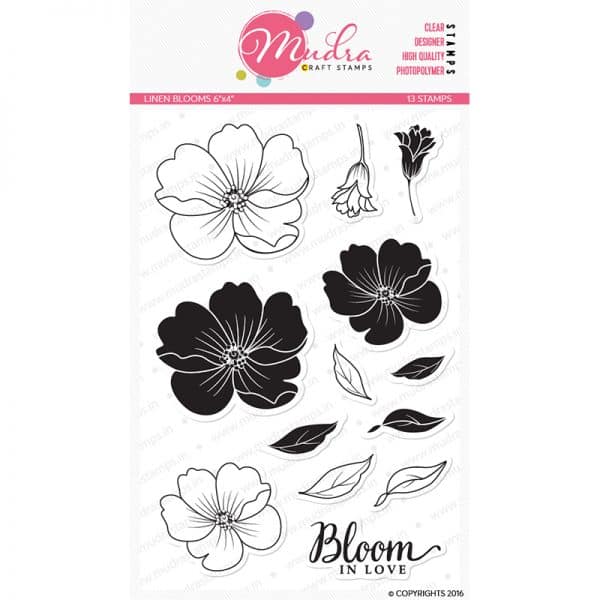
          Linen Blooms
click HERE to buy this

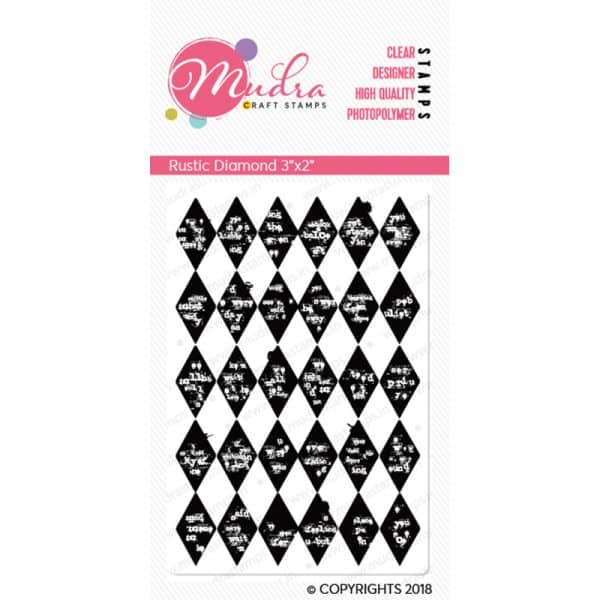
          Rustic diamond
click HERE to buy this

Thank you for stopping by...
see you soon with another intresting project,till then 
Happy Crafting!!!

Arpita

Challanges


Let's Craft and Create

Sunday, 15 July 2018

Shabby Chic Decoupage Bottles

Hello My Crafty Friends...

Its's me Arpita with another easy, fun project for you all today.So how many of you love the crackle effect??I love anything vintange and crackle effect instantly gives the old feel to your projects and also its like magic when those cracks start to appers and so for today's project I combined the 2 techniques I love  DECOUPAGE AND CRACKLE EFFECT.

Here is what I made......

For more pics and a little tutorial watch the video....


Have used this beautiful Decoupage paper from THE ELEMENT CRAFT STUDIO.These papers are very easy to work with and they have a great collection of  Decoupage Papers.These papers have coordinating pattern paper packs which makes your work very easy,do check their page to see their range of  products.


ThankYou For Stopping By...
see you soon with another project,till then
HAPPY CRAFTING!!!

Arpita

Thursday, 12 July 2018

MM Layout Dream ( Craftyscrappers)


Hello My Crafty Friends.....

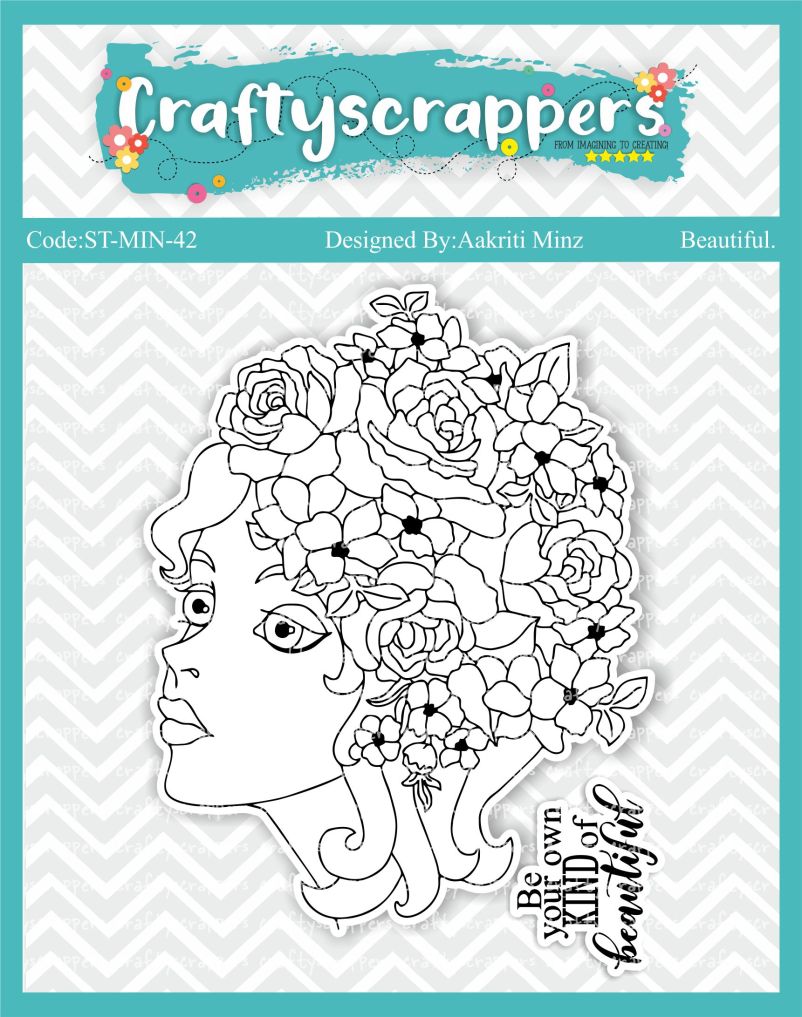
Its me ,Arpita on the Craftyscrappers blog today. I am sharing with you all a very easy and a beautiful Mixed Media layout.I recieved this gorgeous stamp set from Craftyscrappers and I have used this stamp today to make my focal point.The link to buy this stamp set is mentioned below.

So here is what I made.......


Tutorial

step 1

My first step was to make my focal points. I stamped the image on white cardstock using archival inks and coloured the image using water color pencils and then fussy cut my image and I was done with first face.For the second i decoupaged a newspaper on a white cardstock and then stamped the image using archival ink again and then fussy cut the image and my main element of the project were ready.

Step2


I took a few scraps of paper that i thought would go with the color palette i had in mind and distessed the edges with a distressing tool  and composed them around my focal point to give it some depth.

Step3

I have raandomly stamped  using black archival ink keeping in mind the way i wanted the composition of this layout.next I diluted some yellow chalk paint and spread it with a brush .Stamped some leaf images and heat embossed it using violet pearl embossing powder.

To add more layers to the project I spread some Tickled shimmer paste from craftscrappers using a palette knife.

I also addded some mega and mini art stones ,mixed it with some 3d gloss gel and a drop of orange spray to give it some color,at this point i felt it needed something more so i used the same yellow chalk paint to do some stenciling around the composition and at the corner.

Finally I added  a chipboard sentiment ,some die cut leaves.a piece of  thread a flower,some splatter with black paint and tada...my project was complete.

Materials Used

st-min-42.jpg
TO BUY this stamp set click HERE

To see more  beautiful projects using this stamp set by the fellow DT's visit https://craftyscrappers.wordpress.com/

Thank you for stopping by......
see you soon with another interesting project,till then
Happy Crafting!!!

Arpita

Challange entered
Enjoyed the monthly tips,that is how i mostly start a project.was inspired by the color scheme


Craft Stamper Magazine

June challenge - "Emotional outburst"was inspired by the yellow color fromthe mood board.


Friday, 29 June 2018

Mixed Media Tag


Hello My Crafty Friends....

Hope all is well at your end,Blogging after a while...very excited to share today's project with you all.This project was inspired by a recent Purple Vibes youtube hop.So here is what i made...

A Mixed Media Tag...


Thank You for stopping by...
see you soon with another interesting project,till then
Happy Crafting!!!

Arpita


Challenges Entering :

Have used the weave pattern stencil from expression crafts to create my background...to buy this stencil click HERE


Creative Artiste Mixed Media Challenge Blog


Wednesday, 11 April 2018

Decoupage on a LampShade

Hello my crafty friends......


It's me,Arpita here on the blog today....with a simple yet a beautiful project.I recieved this gorgeous lampshade base by THE ELEMENT CRAFT STUDIO and fell in love with this piece instantly,its so beautifuly desinged and coceptulized.I also recieved their recently launched decoupaged papers,which are 100gsm papers with great prints,lovely colors and has a great texture,i absolutely loved working with them.So here is what i made.....


Tutorials

1 .I roughly cut the decoupage paper to size of the panels adhered them using modpodge one panel at a time,sanded the extra paper..once done with all the panels I applied a coat of modpodge and 2 coats of varnish.

2 .Next was to paint the stand,i used lilac chalk paint...applied 2 coats of the chalk paint and to add some interest to the stand i decided to do some gilding using a silver leaf and did some stenciling using modelling pase on the base of the stand.

3. Finished it by adding a lace trim and some beads to the top part of the lampshade.

ThankYou for stopping by...
see you soon with another interesting project,till then
HAPPY CRAFTING!!!

Arpita


Tuesday, 13 March 2018

Altered book style box with a mini journal/album

Hello My Crafty Friends.........

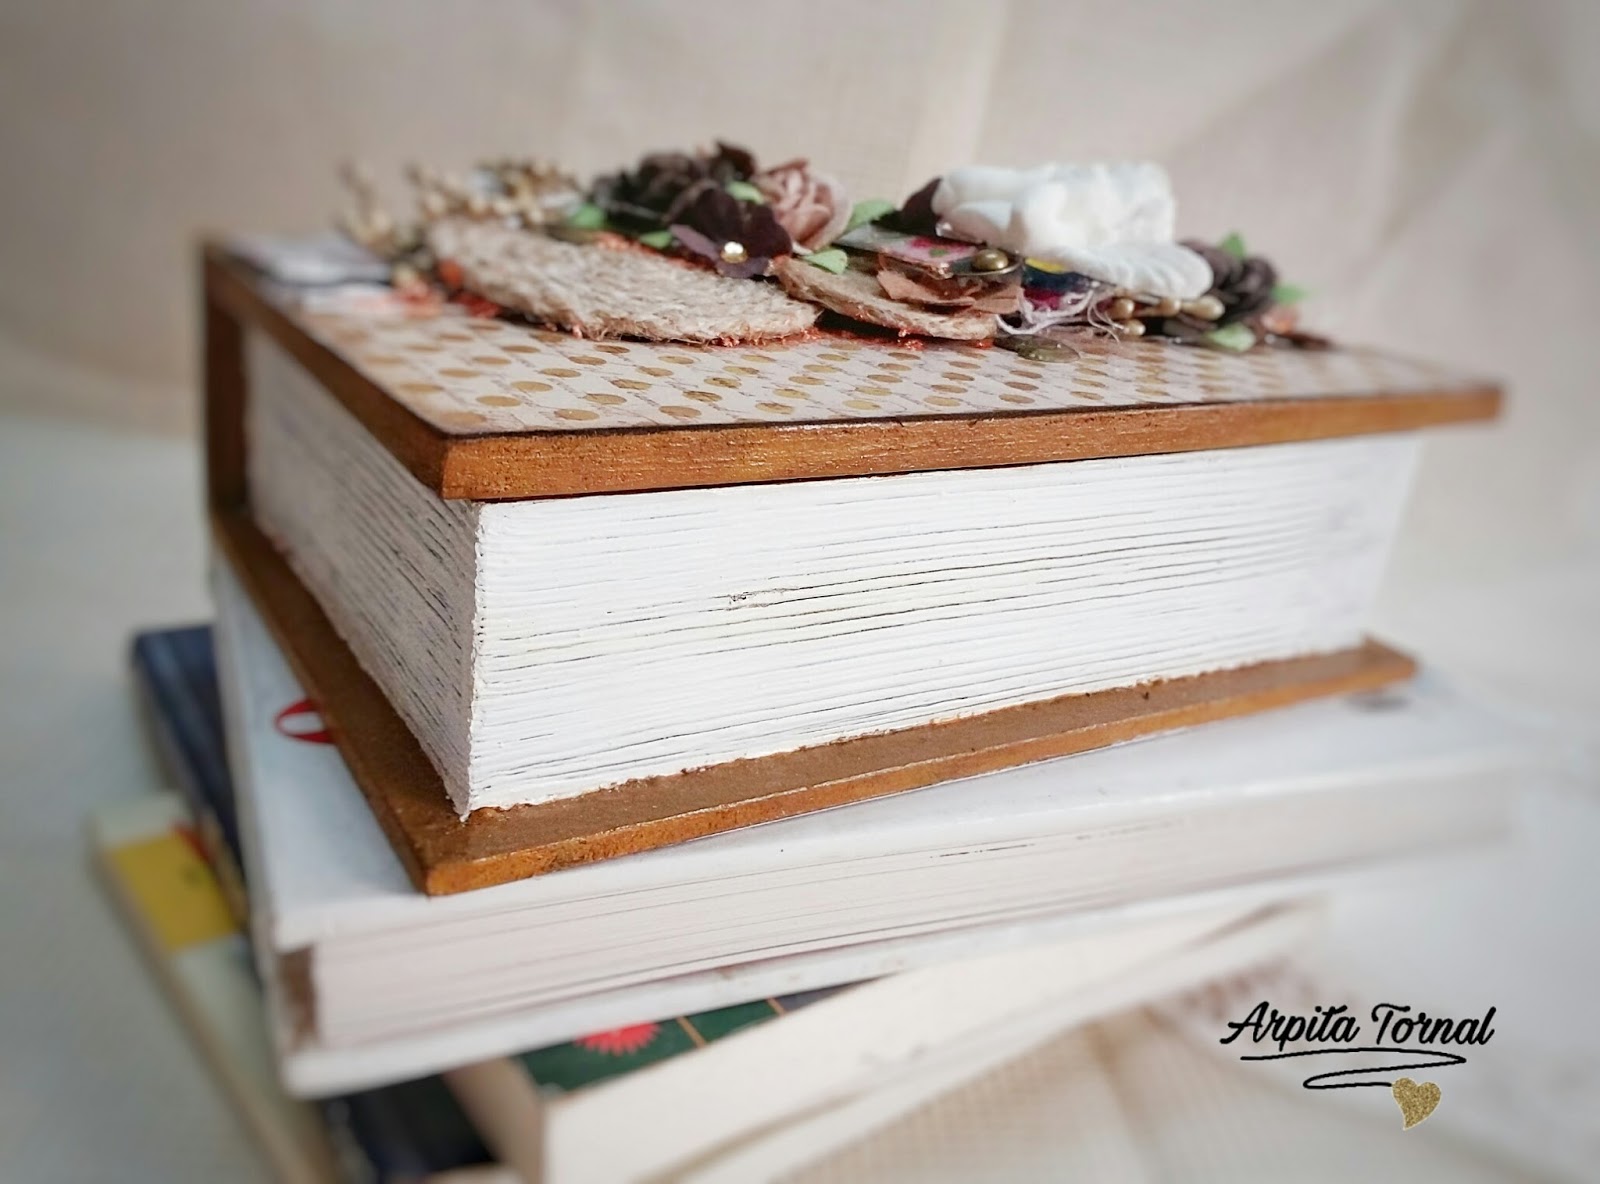
It's me Arpita again on the blog today.Today I am sharing a cute little project,actually there is 2 projects in 1 today.A altered book style box and a accordin style mini journal/album,yes tried making a little accordin style mini journal book/album.Album making is very new to me and its my first was,enjoyed making it.
Will share a written tutorial with you at the end of the pictures.Hope you enjoy the projects.....


Tutorial for the altered box

1.First i started with the binding part,wanted to give it a faux leather look..for that i first tore a tissue into small bits and started to adhere them randomly on to the surface,did two layers of the same process as only one layer had not given as much texture i wanted.

2.To paint this i tried to take the colours complementing the colour of the paper i was using.i choose sap green,yellow ochre,pink and brown.I diluted these paints with water and stareted applying them each color at a time and letting them dry between each coat.painted till i was satisfied with the colour.

3.Wanted the side to look like pages,so i painted the base with brown once dried added a thick coat of gesso and as it was still wet took a comb to draw lines through it.

4.Now stuck the pattern paper,embelished them and i was done with the book box.And yes dont forget to varnish the inside of the box once u have painted it.

Tutorial for Accordin style mini journal/album

Before starting with the steps i want to say i have not used any score board or trimmers .all papers are cut by scissors,a normal blade.So if you are thinking you need to have all the tools to do this,no u dont.

1.As i wanted this to fit in my book box,took measurements suiting the box.
2.The album measures 4'' * 3''. Fistly i cut a white cardstock 9'' * 4'' strip,cut 3 strips with the same measurement.
3.At every 3'' made a fold for all the 3 strips and stuck them together.the last fold of the first strip overlaps the 1st fold of the 2nd strip.
4.Cut the pattern papers a quater inch smaller and stuck them on the raw album base.Also added some corner inserts and pockets.
5.Added a long piece of lace trim on the top which acts as a closure and i wa done.

Materials used :
 MDF Book Styke Box , Pattern Paper .Chipboard Embelishment used inside of the box all from The Element Craft Studio
Flowers,jute coils and the rest of the embelishments from my stash.
 
ThankYou for stopping by...
see you soon with another interesting project,till then
HAPPY CRAFTING!!!


Decoupage on Terracotta Pot