Tuesday, 16 June 2020

Altered box with a Masculine, Rustic look

Hello Everyone

Arpita here,hope you all are doing well. Today I have another altered box project using the Decoupage technique. Have a pictorial tutorial for the same.

For Today’s project I have used the Beautiful Gentleman1 Decoupage paper from Craftangles.

I started with painting the complete box with Midnight dreams chalky paint from Craftangles.I did shading with a bronze metallic paint at the top and lower part of the box to give more interest and depth.

Next I marked the area where I was sticking my print and did stenciling on the rest of the box. Used the honeycomb Stencil from Craftangles did stenciling with Vintage Gold art Alchemy wax .

Finally I stuck the image using the Decoupage glue.Gave a topcoat with the same glue and sealed the project with a varnish.And to make it more interesting I did stenciling with Texture Paste and stuck metal embellishment’s.

Here is the final look


Hope I have inspired you with my today’s altered box project.

Below is the list of materials used .
Decoupage Glue www.hndmd.com/craftangles-decoupage-glue-120-ml-ctdg120
Honeycomb Stencil
www.hndmd.com/craftangles-6×6-stencil-honeycomb-ctcs1
Prima Art Alchemy Wax – Vintage Gold
www.hndmd.com/prima-art-alchemy-antique-brilliance-wax-68-fluid-ounce-vintage-gold-by-finnabair-963958
Gentleman Decoupage Paper –
www.hndmd.com/craftangles-decoupage-paper-pack-gentleman-1-a4-4-sheets-ctdpg1a4
Paper – Texture Paste www.hndmd.com/craftangles-mixed-media-essentials-texture-paste-paper-120-ml-ctmmtpp120

Hope you enjoyed today’s project, I will see you later till then be safe and take care.


Sunday, 31 May 2020

HOPE ATC

Hello Everyone,

Arpita here,hope you all are doing well.
We are living in unprecedented times. Though things are getting back to normal it doesn't seem all normal.Atleat the normal that we were used too. And all we can do is HOPE for a better tomorrow.

'Hope smiles from the threshold of the year to come, whispering it will be Happier Times.'
- Alfred Lord Tennyson

Have created this set of ATC today


Thankyou for stopping by...
Happy Crafting!!!
Arpita Tornal

Challenge Entered

Inspired by the Beautiful colors from this board.


Sunday, 17 May 2020

Vintage Decoupage Box

Hello Everyone,

Arpita here, back with a Decoupage tutorial for you all with some fun and interesting technique.Craftangles has a very wide and Beautiful range of Decoupage papers and one of their latest Vintage Dressforms is absolutely gorgeous collection of Decoupage papers. I have altered an old box, given it a vintage/rustic look using one of the prints from this collection for today’s project.Have a brief tutorial for the same.

How to make Vintage Decoupage Box...

Step 1

Cut tissue into small pieces and stick them with Decoupage Glue around the edges of the top of the box.As seen in the picture while sticking let their be wrinkles as it adds a beautiful texture.


Step 2

Kneed and roll the clay and cut to the shape and size according to the decoupage print and the size of the box .I have used Mont Marte air drying clay but you can use any air drying clay for the same.


Step 3

Apply any glue for the clay to stick,transfer the clay on the box and shape the edges as you desire. Shaping the edges when the clay is still wet and pliable. This clay takes about 24 hrs to dry completely.


Step 4

Once the clay was completely dry I tore the edges of the paper and adhered the print using decoupage glue. Whenever you want to blend your paper with the paints of the background always tare the paper with hand and not scissors,as with rough edges it’s easy to blend the paper with the background.


Step 5

I used different shades of brown and white to paint the background also did stamping and black splatters to blend the paper and the background.

Now for the area where I had stuck the tissue,painted the whole with Midnight black chalky paint and let it dry. Next I dry brushed using the moss green chalky paint and finally to give a vintage look I brushed the art Alchemy vintage gold wax.

The Final Look


Materials Used

Decoupage Glue
White chalk paint
Moss Green Chalk paint
Black Chalk Paint
Decoupage Paper - Vintage Dressforms
Prima Art Alchemy Wax – Vintage Gold
Air Dry Clay
Brushes

To buy all the listed materials visit https://www.hndmd.com/

Thankyou for stopping by...
Happy Crafting!!!
Arpita Tornal


Monday, 9 March 2020

Decoupage on Glass Bottle

Hello Everyone...

Arpita here,I am sharing another home decor project with you all today. Have Decoupage'd a Bottle today. I had this beautiful green bottle with me and I wanted to work on it,when I started planning this project as I liked the natural color of the bottle I wanted the natural bottle to be seen . So decided not to Decoupage the complete bottle.

So Here is What I Made...


This pic shows the back of the bottle


A Brief Tutorial of the Same

Step 1

Stuck the tacky tape diagnolly. This helped the paint from getting on the area I didn't want.

Step 2

Painted with the Midnight Dreams Chalk Paint using a sponge dauber. Have given 2 coats of the paint.


Step 3

Decided to do stenciling.Have used Moss green and Buttercream chalk paint for the stencilling.


Step 4

Stick your fussy cut flowers.


Am using the Black Floral Print Decoupage paper today. Fussy cut the flowers I wanted to use.

Finally removed the tacky tape. Be patient during this step as you do not want to rip the paint off. Then stuck the fussy cut flowers on to the bottle . Added a cord and a embellishment to add some interest and my bottle was ready. Hope you all like this easy and fun tutorial.

Materials Used

Black Floral Print Decoupage paper -
 https://www.hndmd.com/craftangles-decoupage-paper-pack-black-floral-print-12-by-12-inch-4-sheets-ctdpbf12
 Decoupage Glue - https://www.hndmd.com/craftangles-decoupage-glue-120-ml-ctdg120
 Stencils - https://www.hndmd.com/craft-supplies/stencils?bfilter=m0:149;
 Midnight dreams Chalk Paint -
 https://www.hndmd.com/craftangles-chalky-paint-midnight-dreams-100-ml-ctcpmd100
 Moss Green Chalk Paint -
 https://www.hndmd.com/craftangles-chalky-paint-moss-green-100-ml-ctcpmg100
 Buttercream Chalk Paint -
 https://www.hndmd.com/craftangles-chalky-paint-buttercream-100-ml-ctcpbc100


Thank You for stopping by...
Happy Crafting!!!
Arpita Tornal


Thursday, 27 February 2020

Reverse Decoupage On A Glass Plate

Hello Everyone,

Arpita here,Today have another Decoupage project. Decoupage is very versatile with a lot of different techniques. Today will be Sharing a decor piece which is very easy to make and looks Beautiful made using the Reverse Decoupage Technique with a video tutorial.


So here is what I made,


VIDEO LINK


Materials Used

Decoupage Glue - https://www.hndmd.com/craftangles-decoupage-glue-120-ml-ctdg120

Snow White - https://www.hndmd.com/craftangles-chalky-paint-snow-white-100-ml-ctcpsw100

Gilding Flakes -
https://www.hndmd.com/craftangles-gilding-flakes-120-ml-gold-dust-ctgfgd120

Decoupage Paper -
https://www.hndmd.com/craftangles-decoupage-paper-pack-happily-ever-affter-a4-4-sheets-ctdphaa4

Thank you for stopping by...
Happy Crafting!!!
Arpita Tornal


Wednesday, 29 January 2020

Decoupage with Wood Grain Technique

Hello Everyone...

Today I have another Decoupage project, I tried wood graining technique for the first time and I am happy with the result. I Decoupage’d a trinket box using this technique.

A Brief Tutorial

I have used the beautiful-Vintage Butterflies 1 decoupage papers from Craftangles.


Step -1

For the base coat I have used the brown and black shades of paint. Poured both the colours randomly on the top of the box and painted to achieve a lovely shaded effect.


Step-2

For the topcoat, I have chosen the vintage Blue and snow White paint. Again I painted both colours together to achieve a shaded effect.

When your paint is still wet drag the wood grain tool in a rocking motion towards you to achieve a lovely wood grain effect.


Step – 3

I did stenciling of a phrase. Next I fussy cut a butterfly from the Vintage Butterflies paper and decoupage’d the butterfly with the Decoupage glue.
Finally sealed it with a coat of clear varnish.

Here is the final look of the box


Materials Used

Vintage Blue – www.hndmd.com/craftangles-chalky-paint-vintage-blue-100-ml-ctcpvb100

Snow White – www.hndmd.com/craftangles-chalky-paint-snow-white-100-ml-ctcpsw100

Vintage Butterflies – www.hndmd.com/craftangles-decoupage-paper-pack-vintage-butterflies-1-a4-4-sheets-ctdpvba41

Decoupage Glue – www.hndmd.com/craftangles-decoupage-glue-120-ml-ctdg120

Stencils – www.hndmd.com/craft-supplies/stencils?bfilter=m0:149;

Thank you for stopping by...
Happy Crafting!!!
Arpita Tornal

Wednesday, 15 January 2020

Decoupaged Coaters With Shimmer

Hello Everyone...

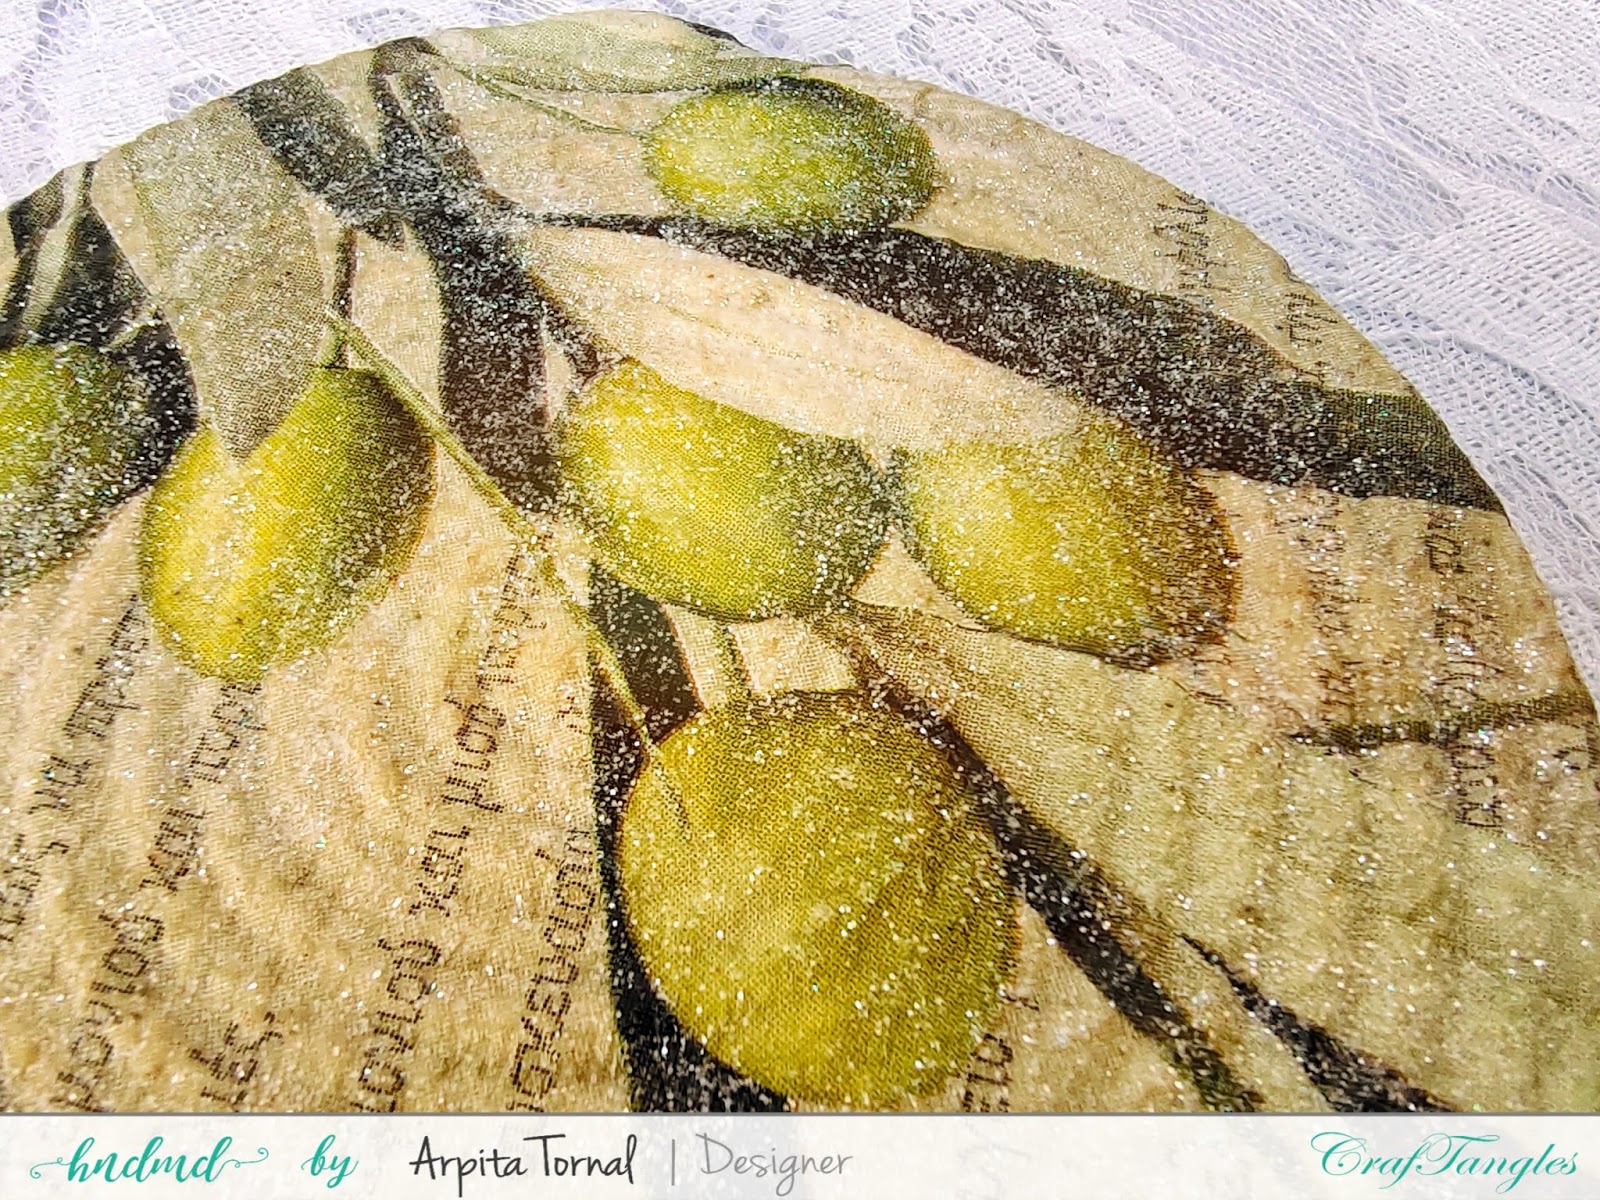
Wish you all a very Happy NewYear!Craftangles recently released Fairy Dust and Shimmer Dust which are perfect to add that extra sparkle for your Decoupage Products.I upcycled CD disk into some coasters and have a video tutorial for the same.

Here is what I made...


Decoupage on Terracotta Pot